VW Golf GTD Mk7 — EA288 Engine Rebuild
The definitive nut-and-bolt guide: strip-down, inspection, rebore, and rebuild
1. Engine Specifications — EA288 2.0 TDI 184PS
| Parameter | Value | Notes |
|---|---|---|
| Engine Family | EA288 (MDB platform) | Modular Diesel Toolkit |
| Engine Codes | CUNA / CUPA | Identical hardware, different ECU calibration |
| Configuration | 4-cylinder inline, DOHC, 16-valve | Common rail direct injection |
| Displacement | 1,968 cc | — |
| Bore × Stroke | 81.0 mm × 95.5 mm | Cast iron block with flake graphite |
| Compression Ratio | 15.8:1 | — |
| Power | 135 kW (184 PS / 181 bhp) @ 4,000 rpm | — |
| Torque | 380 Nm (280 lb-ft) @ 1,750–3,000 rpm | — |
| Head Material | Cast aluminium alloy | DO NOT skim — replace if warped |
| Turbo | Garrett GTD1449VZ | VAG P/N: 04L 253 010H |
| Crankshaft | Forged steel, 5 main bearings | Thrust bearing on No.3 main |
| Conrods | Cracked trapezoid (fracture-split) | Caps NOT interchangeable — see Section 2 |
| Cam Drive | Timing belt (NOT chain) | Also drives HPFP and coolant pump |
| Oil Pump | Internal toothed belt (runs in oil) | Two-stage with volumetric flow control |
| Valve Drive | Integrated Valve Module (iVM) | Cam housing is a single cassette unit |
| Oil Capacity | 4.7 litres (with filter) | VW 504.00/507.00 spec 5W-30 |
| Coolant | G13 (purple) 50:50 | ~8.2 litres total system |
| Head Bolts | 10x TTY (torque-to-yield) | ALWAYS replace — 40Nm → 60Nm → +90° → +90° |
Both codes are EA288 2.0 TDI at 184PS/380Nm. Same block, head, turbo, injectors, bore, stroke, compression ratio, and power output. The ONLY difference is ECU software calibration for different emissions homologation. They are physically interchangeable.
2. EA288 Component Identification Guide
The EA288 is a modern diesel with features that differ significantly from older VW TDI engines (PD, BKD, BMM, etc.). Study these diagrams before starting work.
2.1 Engine Block Layout
Viewed from the timing belt end of the engine:
2.2 Piston & Conrod Assembly
EA288 pistons have NO valve pockets (unlike older TDIs). The piston crown has a dished design for swirl. Each piston has a ring-shaped cooling channel fed by oil spray nozzles from the block.
The conrods are fracture-split — the big end cap is cracked apart from the rod (not machined separately). This gives a unique mating surface like a jigsaw piece. When reassembling:
- The cap MUST go back on the SAME rod it came from
- In the SAME orientation (they are marked — check before separation)
- They are NOT interchangeable between rods
- Mixing them up WILL destroy the bearing and crank journal
2.3 Cylinder Head & Camshaft Housing
The EA288 head assembly is significantly different from older TDIs. The camshafts are trapped inside an integrated cassette — you cannot remove them individually.
2.4 Timing Belt Routing
A separate internal toothed belt (running in oil inside the block) drives the oil/vacuum pump from the crank. This belt is not visible externally and is not part of the timing belt service.
2.5 Turbocharger
The EA288 turbo is a Garrett unit integrated into a cast iron exhaust manifold. The exhaust manifold and turbo are essentially one assembly bolted to the exhaust face of the head. The V-band clamp connects the turbo outlet to the downpipe — this is the one that rusts solid.
If the V-band clamp is seized: soak in PlusGas overnight, then heat with a torch. If it still won't shift, angle grind through it — replacement V-band clamps are under £20 from eBay.
3. Special Tools & Equipment Required
EA288 Timing Tool Kit
Aftermarket kits available on eBay UK for £30–50. You need:
| VW Tool No. | Description | Purpose |
|---|---|---|
| T10490 | Crankshaft Lock | Locks crank at TDC — surrounds crank gear |
| T10264 / T10265 | Camshaft Locking Pin | 8mm pin locks cam sprocket via hole in head. Use phone camera to find the hole — it's behind the sprocket and hard to see. |
| T10492 | HPFP Locking Pin | Locks high-pressure fuel pump sprocket (pin sits behind sprocket) |
| T10172 | Cam Counter-Hold | Holds cam sprocket while loosening hub bolt — pins into sprocket holes |
| T10051 | HPFP Counter-Hold | Holds HPFP sprocket while loosening — same as PD cam tool |
| T10115 | Tensioner Locking Pin | Locks timing belt tensioner in released position |
Tool Reference Photos
Photos courtesy of IDParts Blog. Tap to enlarge.


Other Essential Tools
| Tool | What For |
|---|---|
| Triple-square (XZN) socket set | VAG use these for engine mount bolts, crank pulley, and other critical fasteners. M14 for crank bolt. |
| Torque wrench (calibrated, Nm) | Essential for reassembly — every critical fastener has a spec |
| Angle gauge (or mark bolt heads) | For TTY angle tightening stages (+90°) |
| Breaker bar with long handle | Head bolts will be tight to crack |
| Valve spring compressor | If doing valve stem seal replacement |
| Ring compressor band | For piston installation into bores |
| Plastigauge strips | Bearing clearance check (~£5 from Halfords) |
| Dial gauge (DTI) | Crank end-float measurement |
| Feeler gauges | Ring gap measurement |
| Gasket scraper (PLASTIC) | Do NOT use metal on aluminium head face |
| Masking tape + marker pen | Label every connector, hose, sensor, bolt position |
| Zip-lock bags | Keep bolts and small parts labelled by location |
| Egg carton or numbered cups | Store hydraulic tappets upright, in order |
| Drain pans (×2) | Coolant and oil |
| Brake cleaner | Degreasing bearing saddles, mating surfaces |
| Assembly lube (Permatex) | Bearing and cam lobe protection on first start |
Before and during disassembly, photograph every connector, hose, sensor position, and bolt location. Label every wire with masking tape and a number. Your photos from stripping will be your rebuild manual.
4. CUNA/CUPA Swap Compatibility
Direct Drop-In Donors (184PS, same turbo)
| Vehicle | Engine Code | Years |
|---|---|---|
| VW Golf GTD Mk7 | CUNA | 2013–2017 |
| Skoda Octavia vRS TDI | CUPA | 2013–2017 |
| SEAT Leon FR / Cupra TDI 184 | CUPA | 2013–2017 |
| Audi A3 2.0 TDI 184 (8V) | CUNA / CUPA | 2013–2017 |
| Audi TT 2.0 TDI 184 | CUNA | 2014–2018 |
The Golden Rule
Keep the Golf's ECU and wiring loom. Bolt the donor block in as a bare/partial engine. Transfer the Golf's sensors, DPF, EGR, turbo, and injectors onto it. The Golf's ECU then sees no change. No coding, no immobiliser drama, no specialist needed.
That creates immobiliser issues requiring matched keys, instrument cluster recoding, and dealer-level ODIS access. Could add £500–1,500 in specialist time. Keep the VW ECU where it is.
150PS EA288 Donors (requires more work)
Engine codes CRBC, CRLB, CRVA, CRVC — same block, same bore/stroke, same bolt pattern. These work as long-blocks but require transferring the 184PS turbo (GTD1449VZ), and potentially the injectors and high-pressure fuel pump.
5. Time Estimates — Hours of Wrench Time
These are realistic estimates for an experienced mechanic working on an EA288 for the first time. Does not include waiting for machine shop (2–4 weeks) or parts delivery.
| Phase | Hours | Notes |
|---|---|---|
| Ancillary strip (engine already out) | 3–4 hrs | Intake, exhaust, turbo, injectors, sensors, coolant pipes |
| Timing belt removal | 1–1.5 hrs | Covers off, lock crank/cam/HPFP, release tensioner |
| Cam housing + head removal | 1.5–2 hrs | Valve cover, cam housing bolts (20+), head bolts (10) |
| Bore inspection + decision | 0.5 hrs | Visual + fingernail test. Machine shop does formal measurement. |
| Head strip to bare casting (if doing valve work) | 2–3 hrs | Remove cam housing, valves, springs, stem seals, tappets |
| Block to machine shop + wait | 0 wrench hrs | 2–4 week lead time for rebore. Use this time for head work. |
| Pre-assembly checks (Plastigauge, ring gaps, spray nozzles) | 2–3 hrs | Crank journals, bearing clearances, ring end gaps, oil flush |
| Bottom end reassembly (crank, pistons, sump) | 4–6 hrs | Main bearings, crank, conrods, piston rings, ring compressor |
| Head reassembly (valves, stem seals, cam housing) | 3–4 hrs | 16 valves, springs, collets, tappets, cam housing cassette |
| Fitting head to block + torque | 1–2 hrs | MLS gasket, 10 head bolts, 4-stage torque |
| Timing belt installation | 2–3 hrs | Most critical job. Lock, route, tension, verify ×2 rotations. |
| Ancillary reassembly (turbo, manifolds, sensors, coolant) | 4–6 hrs | Reverse of strip-down. New gaskets, copper washers. |
| Fluids, pre-start checks, first start | 1–2 hrs | Oil fill, coolant bleed (needs VCDS), fuel prime, leak check |
| TOTAL WRENCH TIME | ~25–37 hours | Spread over weekends = 3–5 weekends of actual work |
The car will be off the road for 4–8 weeks total, but that's mostly waiting for the machine shop (2–4 weeks). Actual hands-on time is 25–37 hours. At a steady pace, that's 3–5 full weekends of work.
6. Ancillary Removal Sequence 3–4 hrs
With the engine out of the car and on a stand/bench, strip in this order for progressive access:
- Disconnect battery (should already be done if engine's out)
- Drain fluids: Oil (sump plug), coolant (block drain + radiator drain)
- Intake manifold and charge air pipework: Unbolt the intake manifold from the head (6 bolts, bag and label). Disconnect charge air temp sensor connector first. The EA288 has an integrated charge air cooler in the manifold on some variants.
- Exhaust manifold/turbo assembly: The turbo is integrated into the cast iron exhaust manifold on EA288. Unbolt from head studs. Exhaust manifold nuts are stretch-type — replace on reassembly.
- EGR valve and cooler: Remove EGR valve from head.
CRITICAL: Inspect EGR Cooler for Internal Failure
If metallic debris is visible in the intake ports or EGR pipework, the cooler has broken up internally. This means contamination is systemic (bearings, oil system, turbo) and a rebore alone may not save the engine. The debris has circulated everywhere.
- Injectors: Remove 4x Bosch piezo injectors. Use injector puller if seized. Keep in order (1–4 from timing belt end). Cap fuel rail openings. Label each injector.
- Glow plugs: 12-point deep socket. Apply penetrating oil if stuck. Do NOT snap them off in the head.
- Coolant pipework: All hoses from head and thermostat housing. The EA288 head has upper and lower coolant jackets.
- Oil feed and return pipes: Turbo oil feed/return lines.
- Sensors: Disconnect and label: coolant temp, oil pressure, cam position, crank position. Photograph connector positions before unplugging.
- Alternator and AC compressor bracket (if still attached)
Soak in PlusGas (better than WD-40 for seized fasteners) overnight. If still stuck, apply heat with a blow torch. Last resort: angle grind through the clamp — replacement V-band clamps are under £20.
7. Timing Belt Removal 1–1.5 hrs
The camshaft sprocket must be unbolted from the camshaft before head removal. Do NOT attempt to remove the head with the timing belt still attached.
- Remove timing belt covers: Upper cover first, then lower. Small securing bolts (note different lengths).
- Rotate engine to TDC: Turn crank clockwise only (viewed from belt end) using M14 triple-square (XZN) on crank bolt until TDC mark aligns. Insert T10490 crankshaft lock — it surrounds the crank gear.
- Lock the camshaft: Insert T10264/T10265 locking pin (8mm) through the hole in the cam sprocket into the hole in the cylinder head.
Finding the Cam Lock Hole
This is fiddly. Use your phone camera to peer behind the sprocket and find the hole. You may need to rotate the cam very slightly before the pin drops in. The hole is in the head casting, not the sprocket — the sprocket just has an access hole that must align.
- Lock the HPFP: Insert T10492 HPFP locking pin. This sits behind the HPFP sprocket (the pin has a cutaway to clear the sprocket).
- Release belt tensioner: Slacken the tensioner. Lock with T10115 in its released position.
- Remove cam sprocket hub bolt: Use T10172 counter-hold tool (pins into holes in cam sprocket) while cracking the hub bolt. This bolt may be tight — use a breaker bar.
- Remove belt and cam sprocket: Slide belt off, remove cam sprocket from camshaft. Store belt, sprocket and tools together.
8. Cam Housing & Head Removal 1.5–2 hrs
8.1 Valve Cover Removal
The EA288 valve cover has the crankcase breather integrated, including cyclone oil separator and pressure control valve.
- Disconnect the crankcase breather hose from the valve cover.
- Remove all valve cover bolts (small bolts around perimeter — note positions).
- Carefully lever the valve cover off. Use a plastic lever — do NOT pry against the cylinder head sealing face.
- Inspect camshaft lobes and cam housing visually. Look for scoring, unusual wear, or metallic debris.
8.2 Camshaft Housing Removal
The camshafts CANNOT be removed from the camshaft housing separately. The cams and housing are an integrated cassette assembly. If camshaft replacement is needed, the entire camshaft housing assembly must be replaced as a unit. Do NOT attempt to unbolt individual cam caps — this is not how the EA288 is designed.
Each camshaft actuates one intake and one exhaust valve per cylinder. The valve layout is rotated so intake and exhaust ports are in-line (not on opposite sides).
For a rebore job where the head is sound, the cam housing can remain attached to the head as a complete assembly. Only remove it if doing valve work (stem seals, lapping valves, etc.).
~20+ TTY bolts securing the cam housing to the head. Loosen in a spiral pattern from outside to centre, half a turn at a time, to release clamping force evenly. Reassembly torque: 8Nm + 90° (centre outward).
8.3 Head Bolt Removal
The EA288 has 10 cylinder head bolts. These are TTY (stretch) bolts — ALWAYS replace with new bolts on reassembly.
Use a breaker bar for the initial crack of each bolt, then switch to a ratchet. The bolts will have been stretched by the TTY torque method, so they may feel stiff. Work in stages.
8.4 Lifting the Head
- Check there are no remaining connections (hoses, wires, brackets) holding the head to the block.
- The head gasket seal may cause the head to stick. Do NOT pry with a screwdriver. Tap gently with a rubber/nylon mallet on the sides.
- The head with cam housing attached is heavy (~20–25 kg). Use two people or a hoist.
- Lift straight up, guiding off the dowel pins. Place on a clean wooden board.
- Remove and discard the old head gasket. Note which way up (marked "TOP" on one side).
- Immediately cover the exposed bores with a clean cloth to prevent debris falling in.
9. Bore Inspection — The Decision Point 0.5 hrs
With the head off, this is where you decide: rebore or buy a donor lump.
What You're Looking For
| What to Check | Good (Rebore Possible) | Bad (Donor Time) |
|---|---|---|
| Crosshatch pattern | Faint but visible honing marks still present | Completely smooth/glazed — still salvageable with rebore |
| Scoring | Light vertical marks only, can't catch a fingernail | Deep scoring you can catch a fingernail on, especially if metallic debris visible |
| Ring grooves | Rings move freely in grooves | Ring grooves packed with sooty carbon — this is the classic oil consumption cause. Rings stick and can't scrape oil. |
| Bore shape | Round, no measurable taper | Oval or heavily tapered — still rebore-able if within limits |
| Intake ports | Clean, no metallic debris | Metallic debris/sparkle = EGR cooler has disintegrated internally |
| Block deck surface | Flat, no pitting or erosion | Erosion between cylinders = block may be scrap |
Shine a torch into each intake port. If you see metallic sparkle or find fine metal particles, the EGR cooler has broken up internally. This debris has circulated through the entire engine — it's in the bearings, turbo oil feed, and oil galleries. A rebore alone won't fix this.
Bore Measurements
A machine shop will do this for £20–40, but you can do a preliminary check:
- Factory bore: 81.00 mm nominal
- Measure at: Top (below ridge), middle, bottom — in two directions (thrust face and 90° to thrust face)
- Taper ≤ 0.05 mm: Hone only, no rebore needed
- Taper > 0.05 mm or any out-of-round: Rebore required
- Visible cracking in bore walls: Terminal (very rare on cast iron EA288 blocks)
The 184PS EA288 has a well-documented oil consumption issue from as low as 50,000 miles. The oil control rings are specced loose from factory. VW considers 1 litre per 1,000 miles "within specification." A rebore with properly gapped new rings addresses the root cause permanently.
10. Stripping the Head to Bare Casting 2–3 hrs
If sending the head to a machine shop for pressure testing, or doing valve stem seal replacement, strip as follows:
10.1 Remove Camshaft Housing Assembly
- Loosen all ~20+ cam housing bolts progressively (half turn at a time, outside to centre) to release clamping force evenly.
- Lift the cam housing/camshaft assembly off the head as a complete unit.
- The hydraulic tappets may come with it or stay in the head bores.
- Remove hydraulic tappets from their bores. Keep them in order — use an egg carton or numbered cups. They must go back in the same bore.
- Store tappets upright (not on their sides) so they stay full of oil. If they drain, they'll need time to re-prime on first start.
- Store cam housing safely on a clean surface. Do not rest it on the cam lobes.
10.2 Remove Valves
- Use a valve spring compressor to compress each valve spring.
- Remove the split collets (valve keepers) with long-nose pliers or a magnetic tool.
- Release spring compressor. Remove spring retainer, spring, and spring seat.
- Pull each valve out from the combustion chamber side.
- Remove old valve stem seals (pull/prise off carefully).
Use labelled bags or a purpose-made organiser tray. Each valve, spring, retainer, collet pair, and tappet must go back in exactly the same position. There are 16 valves (4 per cylinder) — losing track means starting over.
The head is now a bare casting. This is the state needed for a machine shop to pressure test it (£30–40) and check flatness. Max deviation: 0.05mm. If warped beyond tolerance, replace with AMC casting (Darkside DSD6162, £870) — do NOT have it skimmed.
11. The Decision: Rebore vs Used Lump vs Recon
What's the Car Worth?
A 2013 VW Golf GTD Mk7 with ~100,000 miles: £6,000–8,500 running. As a non-runner: £2,000–3,500. The gap (£3,500–5,500) is the maximum you should rationally spend.
HEAD IS OFF — INSPECT THE BORES
BORES SALVAGEABLE → REBORE
- No deep scoring from EGR debris
- No metallic contamination in ports
- Block not cracked
- Crank journals within tolerance
DIY cost: £950–1,670
Best long-term result. Fresh bores won't burn oil for 100K+ miles.
BORES TOAST → DONOR ENGINE
- Deep scoring from EGR cooler debris
- Metallic contamination throughout
- Cracked block (rare)
- Crank journals scored/oval
Cost: £1,130–2,500 for donor
Any used donor will eventually develop the same oil consumption issue.
Head-to-Head Comparison
| Factor | Rebore (DIY) | Used Engine | Recon Engine |
|---|---|---|---|
| DIY Cost | £950–1,670 | £1,530–3,060 | £2,550–4,350 |
| Garage Cost | £2,450–4,470 | £2,130–4,180 | £3,150–5,470 |
| Wrench Time | 25–37 hours | 10–14 hours | 10–14 hours |
| Car Off Road | 4–8 weeks (machine shop wait) | 1–2 weeks | 1–3 weeks |
| Warranty | None (DIY) | 30–109 days | 6–24 months |
| Engine Quality | Best — fixes root cause | Unknown history, same issue will return | Professional rebuild, new internals |
| Key Risk | Bore damage exceeds max oversize | Oil consumption at 50–60K miles | Cost may exceed car value |
Rebore (DIY): Best option if you have the time and enjoy the work. ~£1,350 for a car worth £6K–8.5K. Produces a technically superior engine.
Used engine: Fastest route. ~£2,200 DIY or ~£3,000 with garage. But every used EA288 will eventually develop the same oil consumption.
Don't pay garage rates for a rebore — at £3,500+ you're paying the same as a used engine swap but waiting 3× longer. The rebore only makes sense as DIY.
12. Rebore Guide — Pistons, Machine Shops, Costs
Oversize Piston Options
| Source | Part Number | Size | Price | Notes |
|---|---|---|---|---|
| Kolbenschmidt (OEM) | KS 41270610 | 81.25mm (+0.25) | £280–360 | OEM-spec. Set includes rings + pins. Available from IDParts (US, ships to UK). |
| NPR Europe | 130 050 0607 21 | 81.50mm (+0.50) | Contact NPR | Forged steel, DLC-coated pin. Ring heights: 1.50×1.50×2.00mm. |
| ZRP / Diamond | Various | 82.00mm (+1.0) | £400–600 | Forged aftermarket. From Pro-Race Engineering. |
| Darkside Developments | DSD5328 | 81.00mm (std) | £660 | OEM supplier brand. Contact for oversize availability. |
EA288 ring heights are 1.50 × 1.50 × 2.00 mm. Do NOT use PD-era (BMM/BPW) ring sets — they differ. Beyond +0.50mm: risky. Discuss cylinder wall thickness with machine shop BEFORE boring. Source pistons FIRST and bore to match.
Machine Shop Work & Costs
| Operation | UK Cost | Notes |
|---|---|---|
| Rebore 4 cylinders + hone | £180–340 | £45–85/bore. Plateau hone finish for diesel. |
| Hone only (per cylinder) | £15–25 | If bores just need a fresh crosshatch. |
| Crank regrind | £120–180 | ~£15/journal. Only if journals scored. Check with Plastigauge first. |
| Dynamic balance | £77–130 | Crank + flywheel + clutch. Recommended if crank reground. |
| Head pressure test | £30–40 | Checks for cracks. Essential before reassembly. |
| Valve seat recutting | £80–160 | £5–10 per seat × 16. Only if seats are damaged. |
EA288 heads must NOT be refaced/skimmed. If warped, REPLACE with AMC casting (Darkside DSD6162, £870). Skimming alters combustion chamber geometry and injector protrusion, causing running issues and potential piston-to-valve contact.
East Midlands Machine Shops (Near Derby)
| Shop | Location | Phone | Services |
|---|---|---|---|
| John Cooper | Derby (local) | 01332 343968 | Full engine rebuilds, reboring, head work. johncooperderby.co.uk |
| Specialised Engines | Nottingham (20 min) | See website | 40+ years. Reboring, head work, complete builds. specialisedengines.co.uk |
| Welham Group | Leicester (40 min) | 0116 276 6831 | Diesel specialists + full machine shop. UV crack testing. welhamgroup.co.uk |
| Dave Rushton Engines | Lancashire | See website | Crank grinding, rebore, head overhauls. Same-day on most ops. daverushton.co.uk |
| Lymm Engine Components | Cheshire | See website | Full machine shop + parts. Stock Glyco, Miba, ACL, Mahle, King. lymmengineparts.co.uk |
Ring around — not every shop takes on modern common-rail diesels. John Cooper Derby is closest, call first.
Rebore Cost Summary (DIY Labour, Feb 2026 Prices)
| Item | Low | High | Source |
|---|---|---|---|
| Rebore 4 cylinders + hone | £180 | £340 | Local machine shops |
| Oversize pistons + rings (set of 4) | £280 | £660 | KS via IDParts to Darkside |
| Big end bearings (Glyco) | £25 | £50 | Lymm / AUTODOC |
| Main bearings (Glyco/Mahle) | £30 | £60 | Lymm / AUTODOC |
| Complete head set (Darkside, oval port) | £102 | £102 | Darkside DSD4785 |
| Head bolts — 12.9 upgrade | £60 | £60 | Darkside DSD5639.1 |
| Valve stem seals (16 pcs) | £40 | £60 | Supertech or Victor Reinz |
| Timing belt kit + water pump | £140 | £190 | Dayco or Gates |
| Oil + filter + coolant + consumables | £93 | £150 | Euro Car Parts |
| TOTAL (without new head) | £950 | £1,670 | |
| TOTAL (with AMC replacement head) | £1,820 | £2,540 | Add £870 for Darkside DSD6162 |
13. Pre-Assembly Checks 2–3 hrs
Do ALL of these before reassembling anything. They will save you pulling the engine apart again.
13.1 Block & Crank
- Block: Should be back from machine shop with fresh bores. Clean ALL oil galleries with a rifle brush and brake cleaner. The block must be spotless — any debris will destroy new bearings immediately.
- Crankshaft journals: Use Plastigauge (~£5, Halfords). Lay a strip across each journal, torque the cap to spec, remove and measure crush width against the chart. Main clearance: 0.03–0.06mm. Big end: 0.03–0.05mm. If journals are scored or oval, the crank needs regrinding (£120–180) and undersize bearings.
- Crank end float: Mount a dial gauge against the crank end. Lever back and forth. Spec: 0.07–0.17mm. If excessive, new thrust washers needed.
- Piston spray nozzles: Inspect the oil spray nozzles (piston cooling jets) in the block. These squirt oil at the underside of each piston to cool it. Make sure they are clear and not bent.
13.2 Head Checks
- Pressure test: Get the head pressure tested (£30–40 at any machine shop). This checks for cracks in the coolant jacket and combustion chamber. If it fails, replace the head — do NOT attempt to weld aluminium heads.
- Flatness: Check with straight edge and feeler gauges across the gasket face. Max deviation: 0.05mm. If warped, replace with AMC casting. Do NOT have it skimmed.
- Valve seats: Clean the valves, place them in the head, pour petrol into each port. If it seeps past the seat, the valves need lapping or the seats need recutting.
13.3 Oil System
- If EGR cooler caused the failure: Flush the entire oil system — oil cooler, oil galleries, turbo oil feed pipe. Metallic debris from a failed EGR cooler contaminates everything.
- Blow through the turbo oil feed pipe with compressed air to ensure it's clear.
13.4 Ring Gap Check
- Insert each piston ring squarely into the freshly bored cylinder (use the piston to push it square).
- Measure the gap with feeler gauges.
- Typical diesel ring gaps: top ring 0.25–0.45mm, second ring 0.30–0.55mm, oil ring 0.25–0.75mm.
- If tight, file to spec (only file from outside in).
14. Bottom End Reassembly 4–6 hrs
14.1 Crankshaft Installation
- Clean all main bearing saddles in the block with brake cleaner. Remove ALL traces of old bearing material and dirt.
- Fit new main bearing shells (upper halves) into the block saddles. The shells have a locating tab that sits in a notch — they should click in with light finger pressure. Oil the bearing surface generously.
- Lower the crankshaft into position carefully. Do NOT drop it.
- Fit the lower main bearing shells into the main caps. Oil bearing surfaces.
- Fit main caps in correct order and orientation (they are numbered). Torque in sequence (centre outward, multi-stage).
- Check crank end-float with dial gauge. Spec: 0.07–0.17mm.
- The crank should spin freely by hand with slight drag from new bearings. If it binds, strip back and investigate.
14.2 Piston & Ring Installation
Piston rings are marked with a dot or the word "TOP". Install them wrong way up and they won't scrape oil correctly — the engine will burn oil from day one. Check every ring.
- Fit rings to pistons: Oil control ring first (often a 3-piece assembly with expander), then second compression ring, then top compression ring. Check "TOP" markings face upward.
- Stagger ring gaps: Space the gaps approximately 120° apart around the piston. Do NOT align them — this prevents a direct blow-by path.
- Fit big end bearings: New shells into each conrod and cap. Oil generously.
- Fit piston to conrod: Gudgeon pin is a floating fit retained by circlips. Ensure both circlips are fully seated in their grooves.
- Compress rings: Use a ring compressor band. Oil the bore and the rings generously.
- Push piston into bore: Firm, even pressure with the handle of a wooden hammer. If it stops, a ring has popped out of the compressor — pull back and reset. Do NOT force.
- Fit big end cap: Pull conrod down onto crankshaft journal. Fit cap in correct orientation (fracture-split face must match — see Section 2). Torque big end bolts to spec.
- Repeat for all 4 pistons. Check each one spins freely on the crank after torquing.
14.3 Oil Pump & Sump
- Oil pump belt: The EA288 oil pump is belt-driven inside the sump. Ensure correct tension per spec.
- Sump: Clean mating surfaces. Apply sealant (Loctite 5900 or equivalent). Torque sump bolts evenly (10–15Nm).
15. Cylinder Head Reassembly 3–4 hrs
15.1 Valve Stem Seals
- Fit new valve stem seals to all 16 valve guides.
- Use a seal fitting tool or deep socket to press them on squarely.
- They must sit fully on the guide — a cockeyed seal will leak oil down the valve stem.
15.2 Valve Installation
- Oil each valve stem and insert valves back into the head — each valve to its original position (labelled during removal).
- Fit valve spring seats, springs, and retainers.
- Use valve spring compressor to compress the spring and fit the split collets (keepers).
- Collet check: Tap the valve tip with a soft mallet and listen for a solid sound. If the collets pop out, refit them. A properly seated collet pair will not come loose.
15.3 Hydraulic Tappets
- Refit hydraulic tappets to their original positions (from your labelled egg carton).
- They should have been stored upright and full of oil.
- If they've drained, they'll need time to re-prime once the engine is running — expect ticking for 1–5 minutes on first start. This is normal.
15.4 Camshaft Housing Reinstallation
- Ensure the cam housing mating face is clean. No gasket is used — it seals metal-to-metal with the precision machined surface.
- Lower the cam housing cassette onto the head, aligning the dowel pins.
- Fit ALL new TTY cam housing bolts hand-tight first.
- Tighten in a spiral pattern from centre outward:
| Stage | Value |
|---|---|
| Stage 1 | 8 Nm |
| Stage 2 | + 90° |
This is critical for even clamping without distorting the aluminium head.
16. Fitting Head to Block 1–2 hrs
16.1 Preparation
- Block face: Clean the block deck surface with a plastic scraper and brake cleaner. No scoring or gouging.
- Head face: Clean the head gasket face. Plastic scraper only on aluminium.
- Head gasket: Fit new MLS head gasket. Marked "TOP" on one side — this faces upward. Align with dowel pins on the block.
Do NOT use any gasket sealant or jointing compound on the MLS head gasket. It seals by clamping force alone. Sealant will prevent proper sealing and may block oil/coolant passages.
16.2 Head Installation
- Lower the head carefully onto the block, guiding over the dowel pins. This is heavy with cam housing attached (~20–25 kg) — two people or a hoist.
- Fit all 10 NEW head bolts hand-tight. Oil the threads and under the bolt heads.
- Do NOT reuse old head bolts.
16.3 Head Bolt Torque Sequence
| Stage | Value | Notes |
|---|---|---|
| Stage 1 | 40 Nm | All 10 bolts in sequence 1→10 (centre outward) |
| Stage 2 | 60 Nm | Same sequence |
| Stage 3 | + 90° | Same sequence. Use angle gauge or mark bolt heads. |
| Stage 4 | + 90° | Same sequence. Total angular tightening: 180° |
Factory bolts are 10.9 grade. Darkside DSD5639.1 (£60) is a 12.9 high-tensile upgrade — better clamping force, recommended if any future remapping is planned. The CUNA responds well to a Stage 1 remap (215+ bhp).
17. Timing Belt Installation 2–3 hrs
Incorrect timing on a diesel causes piston-to-valve contact. Schaeffler/INA have issued warnings about EA288 belt failures caused by incorrect tensioning. You MUST slacken both the cam AND HPFP sprocket nuts BEFORE tensioning the new belt.
Timing Belt Kit Options
| Kit | Contents | Price |
|---|---|---|
| Dayco KTBWP7880 | Belt + tensioner + idler + water pump | £140 |
| INA/Schaeffler (OEM supplier) | Belt + tensioner + idler + water pump | £150–200 |
| Gates KP25607XS-1 | Belt + tensioner + idler + water pump | £150–190 |
Fitting Procedure
- Fit cam sprocket to camshaft. Tighten hub bolt to 100Nm using T10172 counter-hold.
- Lock crank: Rotate clockwise to TDC. Insert T10490 crankshaft lock.
- Lock cam: Insert T10264/T10265 locking pin (8mm) through cam sprocket into head. Use phone camera to find the hole.
- Lock HPFP: Insert T10492 locking pin behind HPFP sprocket.
- Fit new idler rollers and tensioner to block.
- Route timing belt: Crank → tensioner → cam sprocket → HPFP sprocket → coolant pump → idler rollers back to crank.
- Sprocket alignment: Check elongated holes in cam and HPFP sprockets are centrally located (not at end of adjustment range).
- Set tension: Release tensioner — pointer must align with mark/window. Nip cam and HPFP sprocket nuts.
- Remove ALL three locking tools (crank, cam, HPFP).
- Rotate engine by hand: At least 2 full revolutions (720°) clockwise. It should turn smoothly with no interference.
- Refit all three locking tools. They must drop in perfectly.
If the locking tools do not reinsert perfectly after rotating the engine, the timing is WRONG. Strip back and redo. Running the engine with incorrect timing WILL cause piston-to-valve contact.
- Final torque: With timing confirmed, torque cam sprocket bolt to 100Nm (T10172 counter-hold, remove lock pin first) and HPFP sprocket to spec (T10051 counter-hold, remove lock pin first).
- Remove all tools. Rotate engine two more turns. Re-check all lock pins seat.
- Fit timing belt covers. Check no wiring trapped.
18. Ancillary Reassembly 4–6 hrs
Refit in reverse order of removal. Key torques and notes:
| Component | Torque | Notes |
|---|---|---|
| Timing belt covers | 10 Nm | Check no wiring trapped |
| Valve cover | 10 Nm | New gasket if not integrated. Reconnect breather hose. |
| Intake manifold | 22 Nm | New gasket if supplied. Reconnect charge air sensor. |
| Exhaust manifold/turbo | 25 Nm | NEW nuts only (stretch type). Fit from above — better access. |
| Turbo oil feed pipe | 25 Nm | New copper washers on banjo bolt. Blow through with compressed air to check it's clear. |
| Turbo oil return pipe | 10 Nm | Must be free-draining — any restriction causes turbo oil leaks. |
| EGR valve | 22 Nm | Clean or replace. If EGR cooler failed, replace the cooler too. |
| Injectors | See VW spec | New copper sealing washers. Refit in correct cylinder order (1–4). |
| Glow plugs | 15 Nm | Anti-seize on threads. Do NOT over-torque — they snap. |
| Coolant pipes/hoses | Hand-tight + clips | Replace any that are hard or cracked. |
| V-band exhaust clamp | Spec on clamp | Use a NEW clamp (£15–20). Anti-seize the bolt for next time. |
Work through your disassembly photos. Every sensor, connector, hose, vacuum line, and bracket must go back. Missing one coolant hose or sensor plug will cause problems on first start.
19. Fluids, First Start & Running-In 1–2 hrs
19.1 Fluids
| Fluid | Spec | Quantity / Notes |
|---|---|---|
| Engine oil | VW 504.00/507.00 (5W-30) | 4.7L with filter. Quality filter (Mann/Mahle). |
| Coolant | G13 (purple) 50:50 | ~6L to fill. Must be bled with VCDS/OBDeleven scan tool. |
| Fuel system | Ultra-low sulphur diesel | Prime with hand primer pump on fuel filter housing. |
For the first 1,000 miles after a rebore, use mineral or semi-synthetic oil (not full synthetic). Synthetic oil is too slippery for new ring bedding — the rings need friction to seat against the fresh bore surface. After 1,000 miles, switch to the VW 504/507 spec long-life oil.
19.2 Pre-Start Checklist
- All sensors reconnected? (Compare against disassembly photos)
- All coolant hoses connected and clips tight?
- Oil filled to correct level on dipstick?
- Coolant filled and system bled (VCDS)?
- Fuel system primed (no air in lines)?
- Timing belt covers refitted?
- Engine mount bolts all torqued?
- Battery reconnected?
- Nothing left in the engine bay (tools, rags, bolts)?
- Exhaust connected?
19.3 First Start Procedure
- Prime fuel: Turn ignition to position 2 (not start), wait for glow plug light to go out. Turn off. Repeat 3 times. This cycles the fuel pump.
- Start: On the 4th cycle, start. It may crank longer than normal — this is expected as oil pressure builds and fuel primes.
- Idle check: Once running, DO NOT rev it. Let it idle. Check immediately for oil leaks, coolant leaks, exhaust leaks.
- Tappet noise: The hydraulic tappets may tick for 1–5 minutes as they re-prime with oil. This is normal and should settle.
- Oil pressure: Warning light should go out within 3–5 seconds. If it stays on >10 seconds, STOP the engine immediately.
- Warm up: Idle until normal operating temperature. Check for leaks again when warm.
- Oil level: Shut down, wait 5 minutes, recheck (it will have dropped as filter fills). Top up.
19.4 Running-In Period (Rebore Only)
- First 500 miles: Vary RPM between 1,500–3,000. No sustained high RPM. No full throttle. No towing.
- 500–1,000 miles: Gradually increase load. Short bursts of higher RPM fine.
- At 1,000 miles: Change oil and filter — first oil will contain fine metal particles from ring bedding. Normal.
- After 1,000 miles: Normal driving. Switch to VW 504/507 spec long-life oil.
- If still using oil after 2,000 miles: Rings may not have seated. This often happens if synthetic oil was used for first fill.
20. Complete Torque Reference Table
| Fastener | Torque | Replace? | Notes |
|---|---|---|---|
| Cylinder head bolts (10x) | 40Nm → 60Nm → +90° → +90° | ALWAYS | Centre outward sequence 1→10 |
| Cam housing bolts (~20x) | 8 Nm + 90° | ALWAYS | Centre outward spiral. Metal-to-metal seal. |
| Main bearing cap bolts | See VW data for size | YES (TTY) | Multi-stage. Typically 20Nm + 90° (M8) |
| Big end (conrod) bolts | See VW data for size | YES (TTY) | Typically 30Nm + 90° |
| Camshaft sprocket hub bolt | 100 Nm | Check | Use T10172 counter-hold |
| Camshaft sprocket bolt | 25 Nm | No | — |
| Exhaust manifold nuts | 25 Nm | ALWAYS | Stretch-type copper nuts |
| Intake manifold bolts | 22 Nm | No | New gasket recommended |
| Valve cover bolts | 10 Nm | No | Do not overtighten |
| Rocker/tappet shaft bolt | 20 Nm + 90° | YES (TTY) | — |
| Timing belt tensioner nut | 20 Nm + 45° | No | — |
| Glow plugs | 15 Nm | No | Anti-seize on threads |
| Oil drain plug | 30 Nm | New washer | — |
| Oil filter cap | 25 Nm | New O-ring | 32mm socket |
| Sump bolts | 10–15 Nm | No | Sealant on mating surface |
| Turbo to manifold | 25 Nm | New gasket | — |
| Crank pulley bolt | See VW data | Check | Multi-stage TTY. Very high torque + angle. |
| Flywheel bolts | See VW data | YES (TTY) | Typically 40Nm + 90° |
| Injector clamp bolts | 20 Nm | No | Even pressure |
| EGR valve | 22 Nm | No | — |
| V-band exhaust clamp | Per clamp spec | Use NEW | Anti-seize bolt for next time |
The EA288 Gen I workshop manual PDF (29.5MB) is available from audiclub.eu. Always cross-reference critical torques before final assembly.
21. Parts Order Checklist
Must-Have (Both Paths)
| Part | Source | SKU | Price |
|---|---|---|---|
| MLS Head Gasket (Oval Port) | Darkside Developments | DSD5579.1 | £60 |
| Complete Head Set (Oval Port) | Darkside Developments | DSD4785 | £102 |
| Head Bolts ×10 — 12.9 Upgrade (RECOMMENDED) | Darkside Developments | DSD5639.1 | £60 |
| Head Bolts ×10 — OEM standard TTY | Darkside Developments | DSD8933.1 | £45 |
| Timing Belt Kit + Water Pump | AUTODOC UK | Gates KP25607XS-1 | £150–190 |
| Timing Belt Kit (budget) | REXBO / AUTODOC | Dayco KTBWP7880 | £140 |
| Engine Oil 5W-30 504/507 × 5L | Euro Car Parts | — | £30–50 |
| Oil Filter | Euro Car Parts / GSF | Mann/Mahle | £8–15 |
| Coolant G13 × 5L | Euro Car Parts | — | £20–30 |
| Distilled Water × 5L | Halfords | — | £5 |
| Sump drain crush washer | Any | — | £1 |
| Turbo oil feed copper washers | Any | — | £3 |
| EA288 Timing Tool Kit | eBay UK | AST5174 / CM3830 | £30–50 |
Rebore Path Additional
| Part | Source | SKU | Price |
|---|---|---|---|
| Oversize Pistons +0.25mm (set of 4) | IDParts | KS 41270610 | £280–360 |
| Oversize Pistons +0.50mm (forged) | NPR Europe | 130 050 0607 21 | Contact NPR |
| Big End Bearing Shells | Lymm / AUTODOC | Glyco 71-3930 | £25–50 |
| Main Bearing Shells | Lymm Engine Parts | Glyco / Mahle | £30–60 |
| Valve Stem Seals (16 pcs, Supertech) | eBay / specialists | — | £40–60 |
| Valve Stem Seals (16 pcs, OEM) | AUTODOC | Victor Reinz 036109675A | £32–64 |
| Cam Housing Bolts (~20+ TTY) | VW Dealer / Darkside | — | Contact for price |
| Exhaust Manifold Nuts (stretch) | VW Dealer | — | £10–15 |
| Plastigauge | Halfords / eBay | — | £5 |
| Assembly Lube | Halfords | Permatex | £8 |
If Head Needs Replacing
| Part | Source | SKU | Price |
|---|---|---|---|
| AMC Cylinder Head — 2.0 TDI Oval Port | Darkside Developments | DSD6162 | £870 |
CUNA/CUPA uses oval port exhaust. Do NOT order round port version (DSD6159).
Optional / EGR Delete
| Part | Source | SKU | Price |
|---|---|---|---|
| EGR Cooler Blanking Kit (MQB/EA288) | Darkside | DSD7274 | £198 |
| EGR Delete Race Pipe + Cooler Delete | Darkside | DSD5227 | £114 |
| EGR Blanking Kit (basic) | Darkside | DSD1657 | £54 |
EGR delete: not road-legal in UK, requires ECU remap. DSD7274 is most comprehensive.
22. Downloads for Dad — Reference Documents
Download and print these. Keep them in the garage alongside this guide.
VW Self Study Programmes (SSP) — FREE Cutaway Diagrams
| Document | What's In It | Download |
|---|---|---|
| SSP 920143 (Audi US) | 70 pages, image-heavy, full EA288 cutaway diagrams | Direct PDF from NHTSA |
| SSP 514 (VW Europe) | "The New EA288 Diesel Engine" — full cutaway diagrams | volkswagenclub.net |
| SSP 820433 (VW USA) | Same content as SSP 514, US formatting | volkswagenclub.net (3.74 MB) |
| SSP 608 (Audi) | "Audi 1.6L and 2.0L 4-Cylinder TDI Engines" | audiclub.eu (4.97 MB) |
Workshop Manual
| Resource | Description | Link |
|---|---|---|
| EA288 Gen I Repair Manual | Full torque specs, exploded diagrams, step-by-step for crankshaft, head, valve gear, lubrication, cooling, turbo, exhaust. 29.5 MB PDF. | audiclub.eu (29.5 MB) |
| EA288 Gen I (vwts.ru) | Same manual, alternative source | vwts.ru |
Video Guides
- REPXPERT / Schaeffler — Timing Belt Change — Professional training video from the belt manufacturer. FREE at repxpert.com
- Dieselgeek EA288 Timing Belt — 40+ min professional video. dieselgeek.com ($24.95)
- SeatCupra.net DIY Thread — Step-by-step with photos: seatcupra.net
Parts Catalogue (ETKA Online)
- 7zap.com — VW → Golf → 2.0 TDI → Group 01 (Engine) for exploded views
- webautocats.com/etka — Alternative ETKA browser
The URL pics.tdiclub.com/data/517/820433_EA288.pdf (widely cited on forums) does NOT serve the actual EA288 SSP. It returns an Adobe Illustrator colour swatch file. Use the links above instead.
23. Forums & Community Resources
- VW Audi Forum — EA288 compression pressures, rebuild discussions, EGR cooler failure reports
- BRISKODA — Octavia vRS CUPA oil consumption thread, swap compatibility
- SEATCUPRA.NET — EA288 184 timing belt procedure with photos, oil consumption reports
- TDI Club — EA288 oil pump belt, fluid capacities, SSP documents
- Darkside Developments Blog — MQB Platform EA288 Engine Tuning guide
- IDParts Blog — Timing tool identification and usage guide with photos
24. Specialist Contacts
| Supplier | Specialism | Contact |
|---|---|---|
| Darkside Developments | EA288 parts specialist. Head bolts, MLS gaskets, complete head sets, pistons, AMC heads, EGR delete, tuning. Single best UK source for EA288 rebuild parts. | darksidedevelopments.co.uk |
| 3ngines.com | Donor engines: CUPA bare £1,130 (68K), CUNA bare £1,569 (60K), Recon CUPA £1,418 (0 mi, 6-mo warranty). | 03300 882103 • 3ngines.com |
| 365 Engines (Bolton) | 6-month warranty engines. Currently out of stock on CUNA/CUPA — worth checking. | 01204 898588 • 365engines.com |
| John Cooper (Derby) | Local machine shop. Reboring, head work, full engine rebuilds. | 01332 343968 • johncooperderby.co.uk |
| Welham Group (Leicester) | Diesel injection + full machine shop. Rebore, crank grind, UV crack testing. | 0116 276 6831 • welhamgroup.co.uk |
| Lymm Engine Components | Bearings (Glyco, Mahle, King), gaskets, AMC heads, machine shop + parts. | lymmengineparts.co.uk |
| IDParts (US, ships to UK) | Kolbenschmidt oversize pistons for EA288. | idparts.com |
| Pro-Race Engineering | ZRP/Diamond forged pistons, Glyco bearings, rebore (£65–85/bore). | prorace-engineering.co.uk |
| Ivor Searle | Remanufactured engines with 12-month unlimited mileage warranty. | 01353 720531 • ivorsearle.co.uk |
| vrvwsltd (Bradford) | VW/Audi breaker. Supply-and-fit. 7.6K eBay sales, 100% feedback. | eBay: vrvwsltd |
25. Donor Engine Market — February 2026
Best Options (In Stock)
| Price | Code | Miles | Type | Seller | Notes |
|---|---|---|---|---|---|
| £1,130 | CUPA | 68K | Bare | 3ngines.com | Cheapest. 109-day warranty. +£70–90 delivery. |
| £1,332 | CUPA | 77K | Complete + turbo + gearbox | eBay (jasonbrewer2) | Best value complete. Collection only, Mexborough (50mi). |
| £1,418 | CUPA | 0 (recon) | Bare (recon) | 3ngines.com | New internals. 6-month warranty. Exchange basis. |
| £1,569 | CUNA | 60K | Bare | 3ngines.com | 109-day warranty. |
| £1,955 | CUNA | 95K | Bare | eBay (GlobalParts-UK) | Free delivery. 30-day warranty. |
| £2,500 | CUPA | 30K | Complete | BC Engines, Oldham | Lowest mileage. 1-month warranty. |
| £2,800–3,500 | Various | 0 | Remanufactured | Ivor Searle | 12-month unlimited mileage warranty. |
eBay Search Alerts (Set These Up)
- "CUNA engine"
- "CUPA engine"
- "2.0 TDI 184 engine"
- "GTD engine"
- "EA288 184 engine"
- "Octavia vRS TDI engine"
Three major sellers (vrvwsltd, LH Autoparts, mariyhussai21) are in Bradford. Worth a drive from Derby (1hr 20min) to inspect in person. ALWAYS check intake ports for metallic debris and oil cap for emulsion before paying.
- Check intake ports for metallic debris (EGR cooler failure)
- Check oil cap for mayonnaise/emulsion (head gasket failure)
- Check turbo shaft play (grab shaft through oil feed hole)
- Compression test if possible (healthy EA288: 25–30 bar/cyl)
- Ask for mileage proof
26. Garage Wall Card
Print this page and cut out the card below. Tape it to the wall next to the engine.
EA288 CUNA/CUPA 2.0 TDI 184PS — QUICK REFERENCE
| ENGINE DATA | |
|---|---|
| Bore × Stroke | 81.0 mm × 95.5 mm |
| Compression | 15.8:1 |
| Oil (with filter) | 4.7 litres — 5W-30 VW 504/507 |
| Coolant | G13 purple, ~8.2L total. Bleed with VCDS. |
| Conrods | CRACKED TRAPEZOID — caps NOT interchangeable |
| HEAD BOLT TORQUE (NEW BOLTS ONLY) | |
|---|---|
| Stage 1 | 40 Nm |
| Stage 2 | 60 Nm |
| Stage 3 | + 90° |
| Stage 4 | + 90° |
| Sequence | Centre → outward (1→10) |
| Removal | REVERSE: outside → centre (10→1), ½ turn at a time |
| TIMING TOOLS | |
|---|---|
| Crank lock | T10490 |
| Cam lock | T10264 / T10265 (8mm pin — use phone camera to find hole) |
| HPFP lock | T10492 |
| Cam counter-hold | T10172 |
| HPFP counter-hold | T10051 |
| Tensioner pin | T10115 |
| KEY TORQUES | |
|---|---|
| Cam housing bolts (~20+) | 8 Nm + 90° (TTY, replace every time) |
| Cam sprocket nut | 100 Nm (remove lock pin first!) |
| Intake manifold | 22 Nm |
| Exhaust manifold nuts | 25 Nm (NEW stretch nuts only) |
| Valve cover | 10 Nm |
| Sump drain | 30 Nm (new washer) |
| Oil filter cap | 25 Nm (32mm socket, new O-ring) |
| Glow plugs | 15 Nm (DO NOT overtighten) |
- Head bolts are TORQUE-TO-YIELD — MUST use new bolts
- Cam housing is a SINGLE CASSETTE — lifts off as one unit
- Conrods are FRACTURE-SPLIT — caps go back same rod, same way
- Piston rings marked "TOP" — must face upward
- Ring gaps staggered 120° apart — never aligned
- DO NOT skim the head — replace if warped (AMC casting)
- NO sealant on MLS head gasket
- XZN triple-square sockets needed (M14 for crank bolt)
- Timing belt: slacken cam + HPFP nuts BEFORE tensioning belt
- Remove locking pins BEFORE applying final torque to sprocket nuts
- After timing belt: rotate 2 full turns, recheck all lock pins seat
- First fill: mineral oil for ring bedding (switch to synthetic at 1,000 mi)
- Tappet ticking on first start is NORMAL (1–5 minutes)
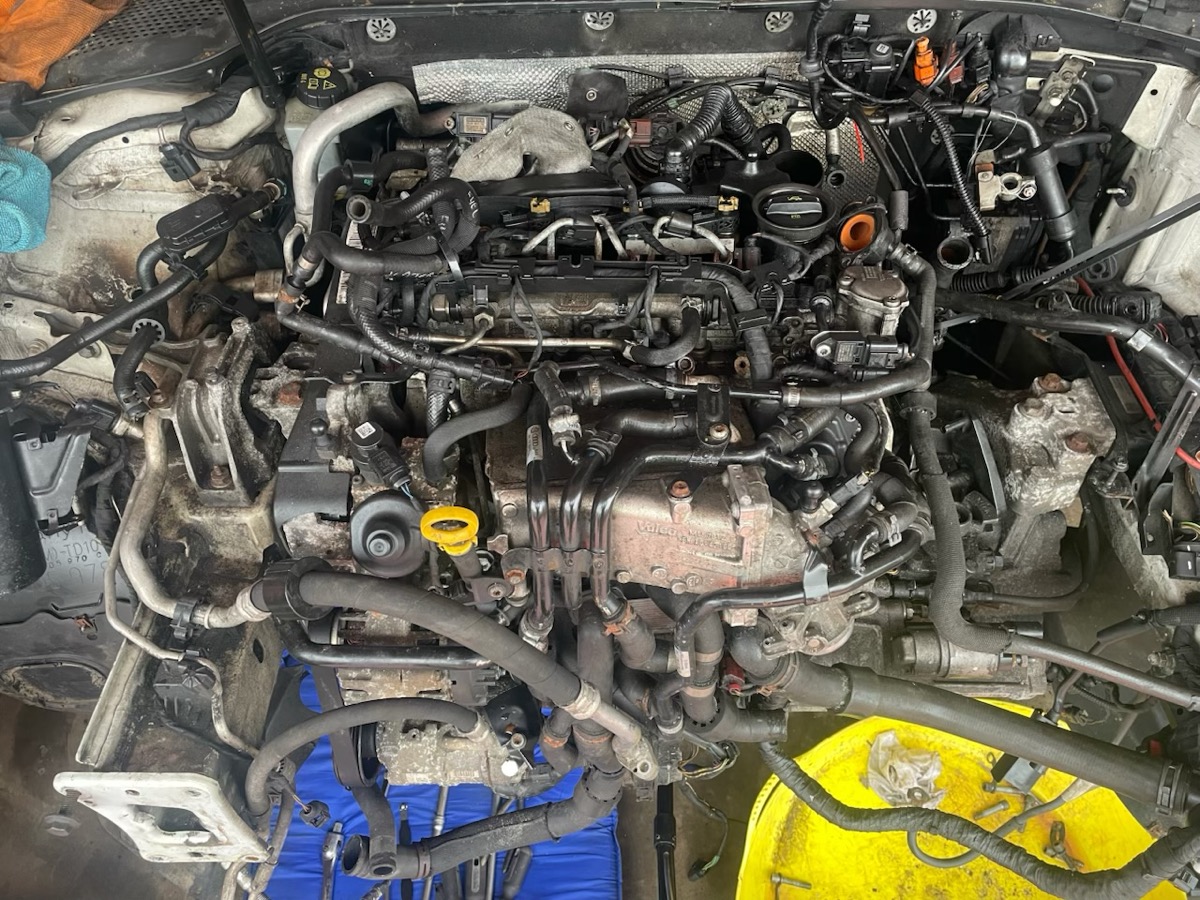
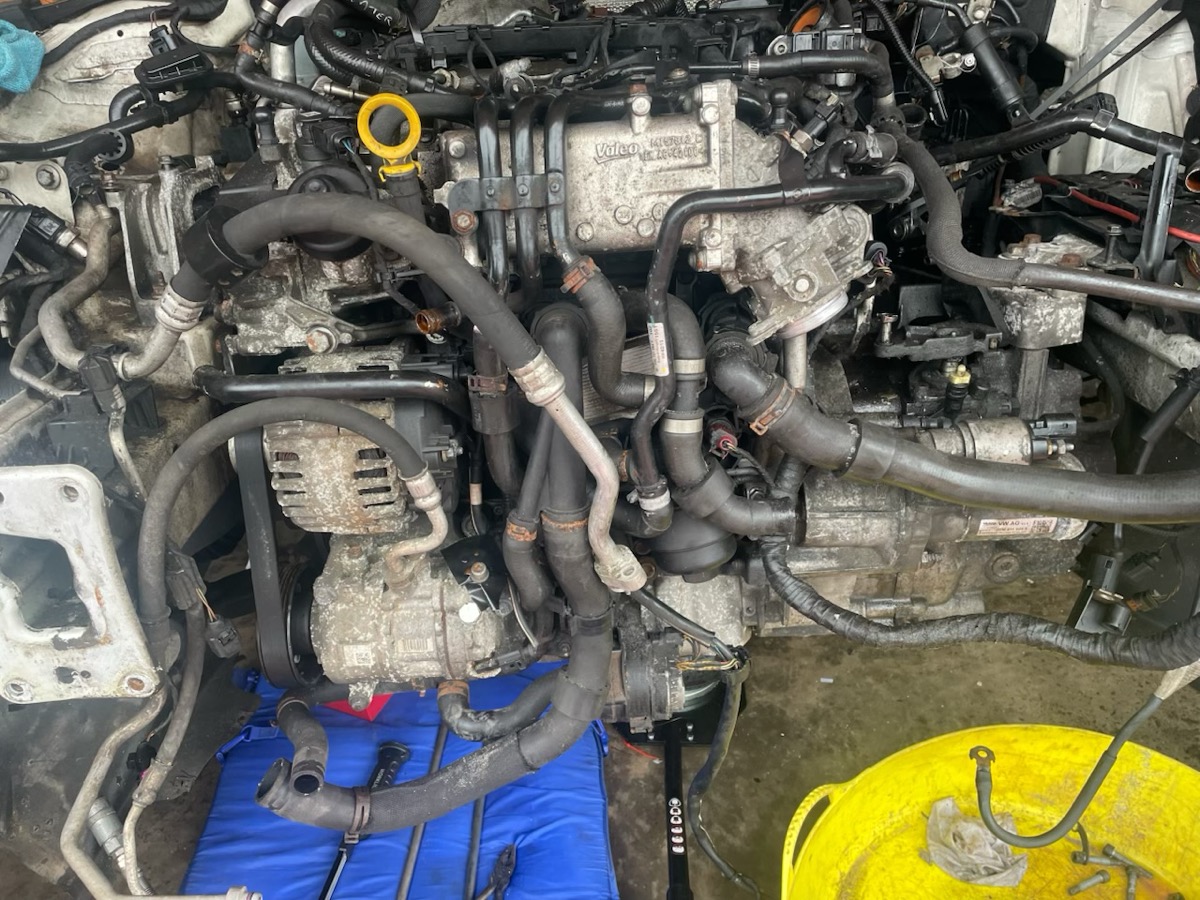
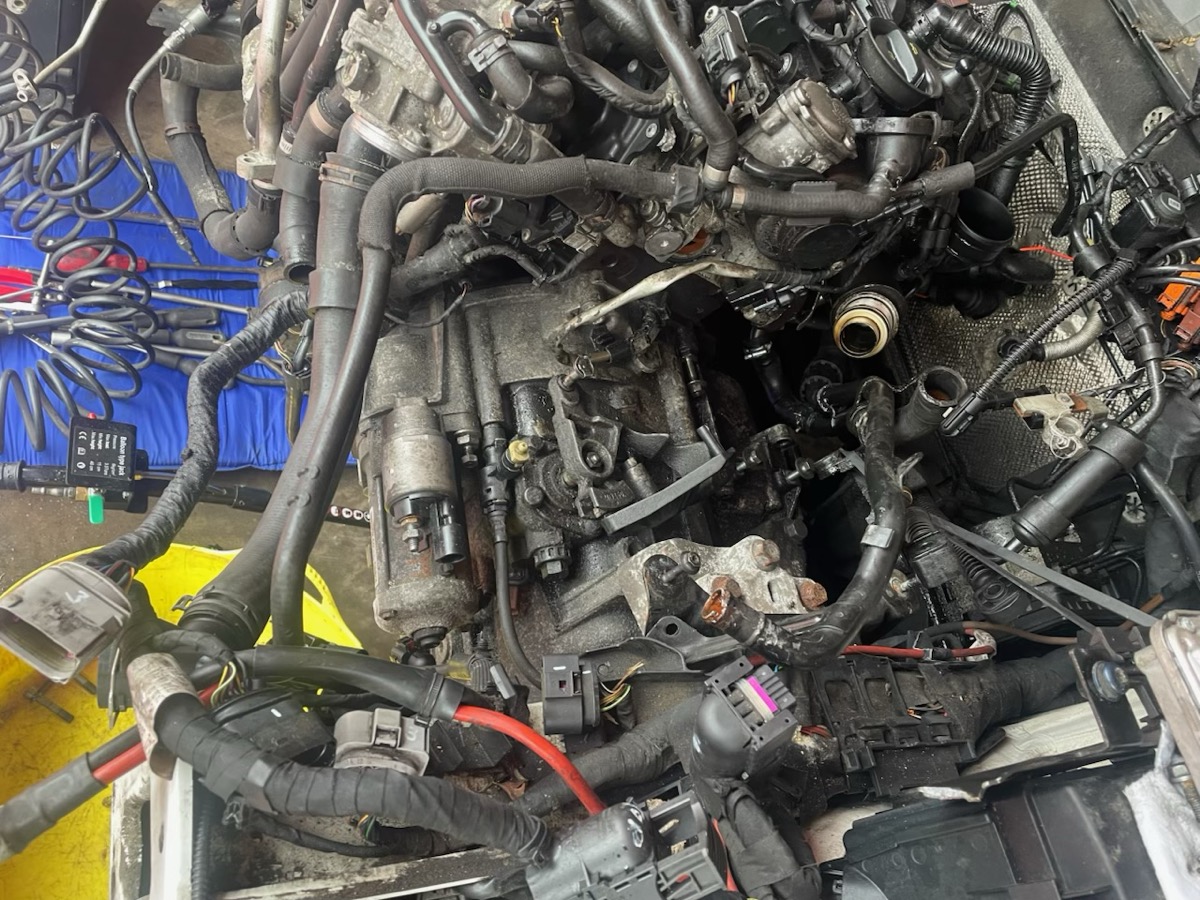
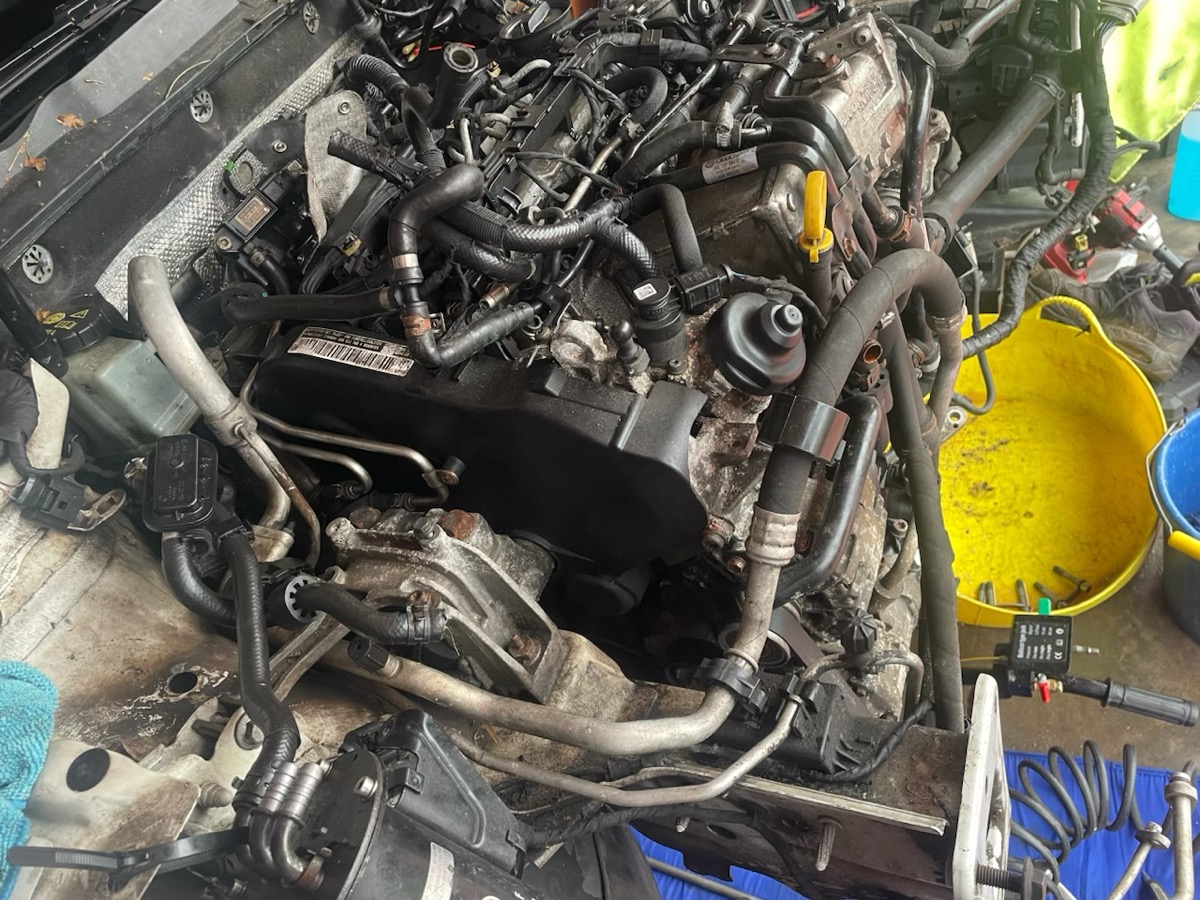
27. Engine Photos — 21 February 2026
Photos of the actual engine. Tap any photo to enlarge.
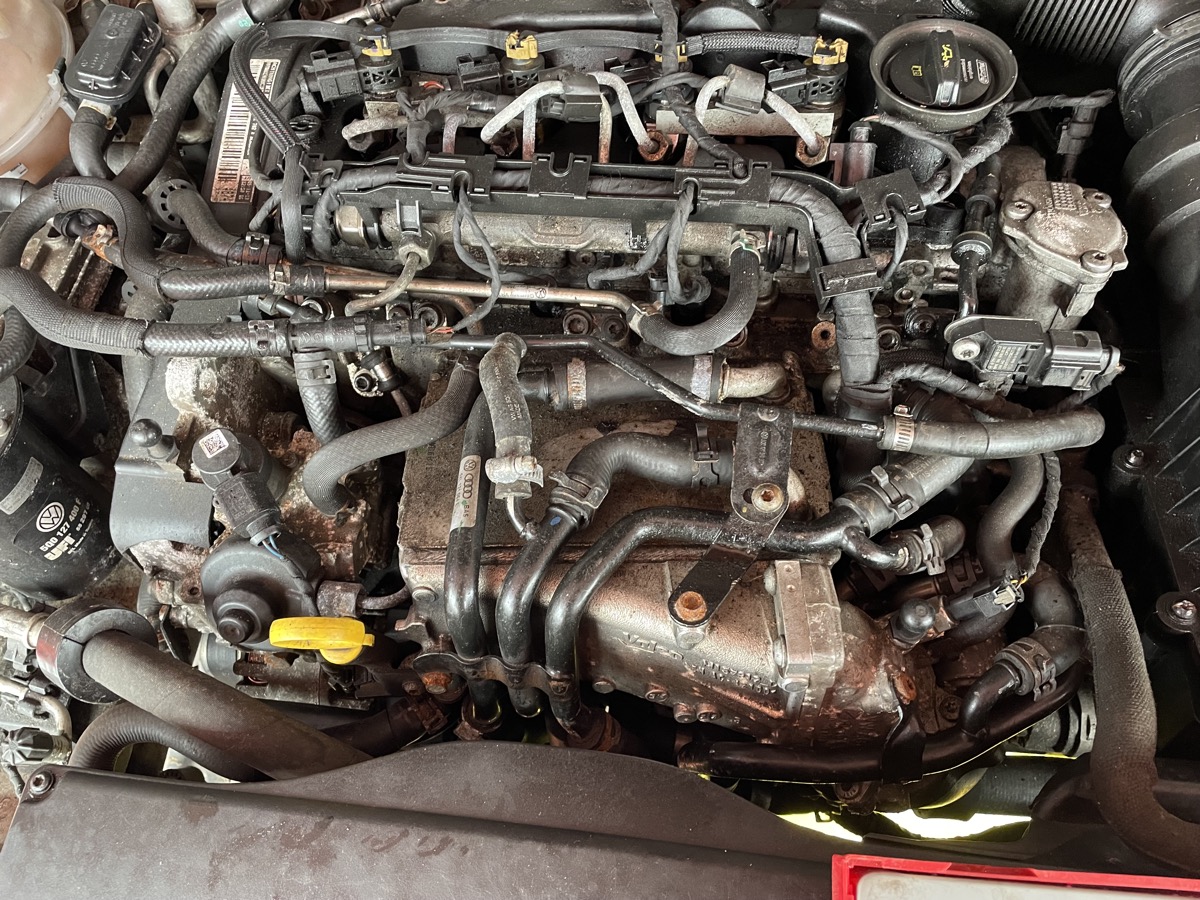
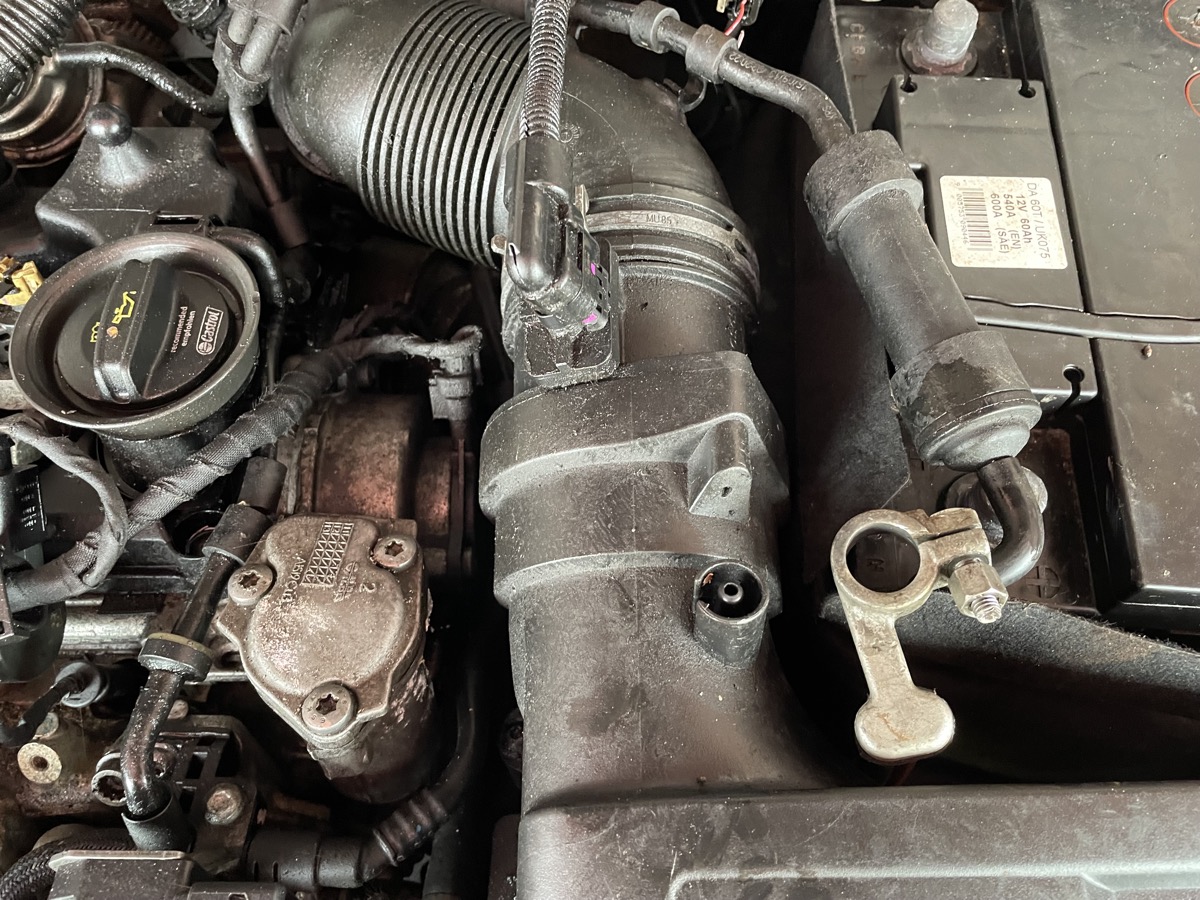
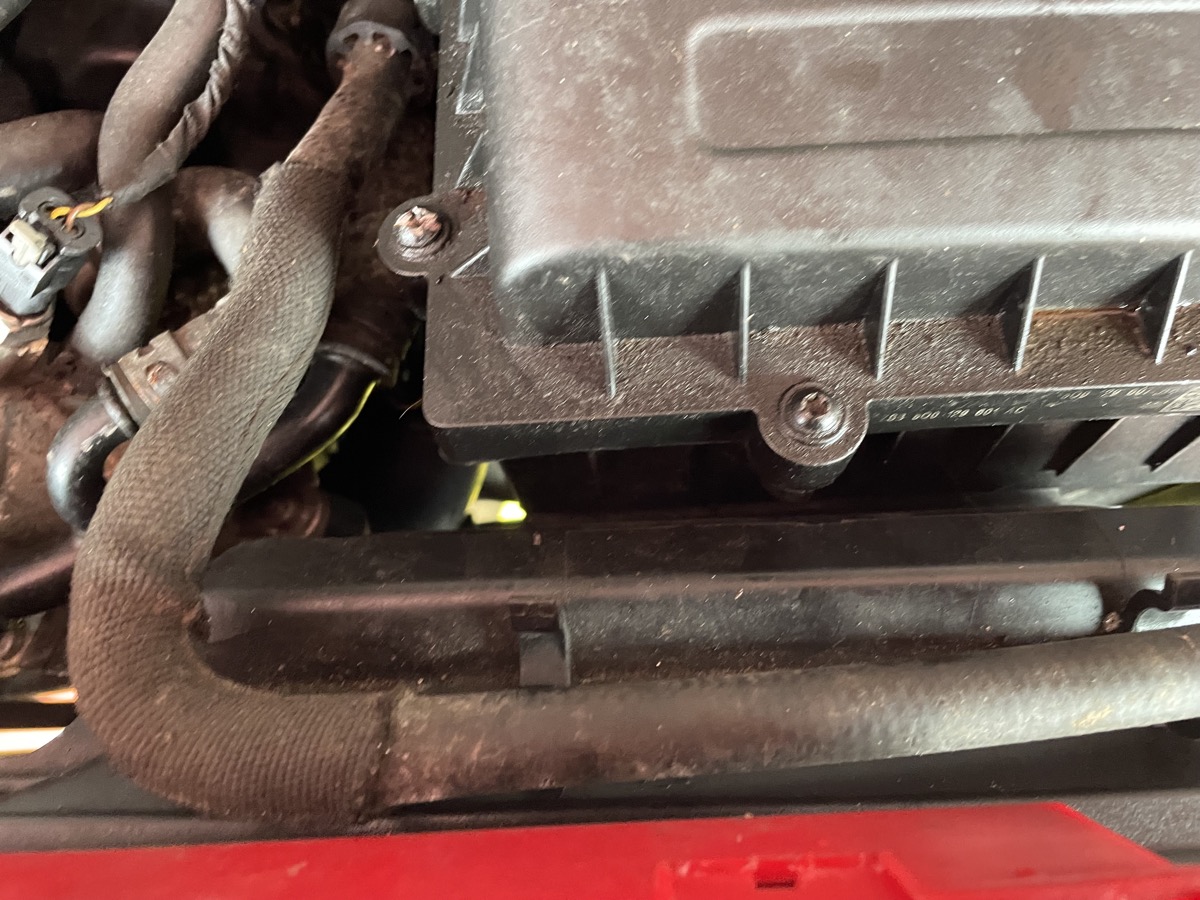
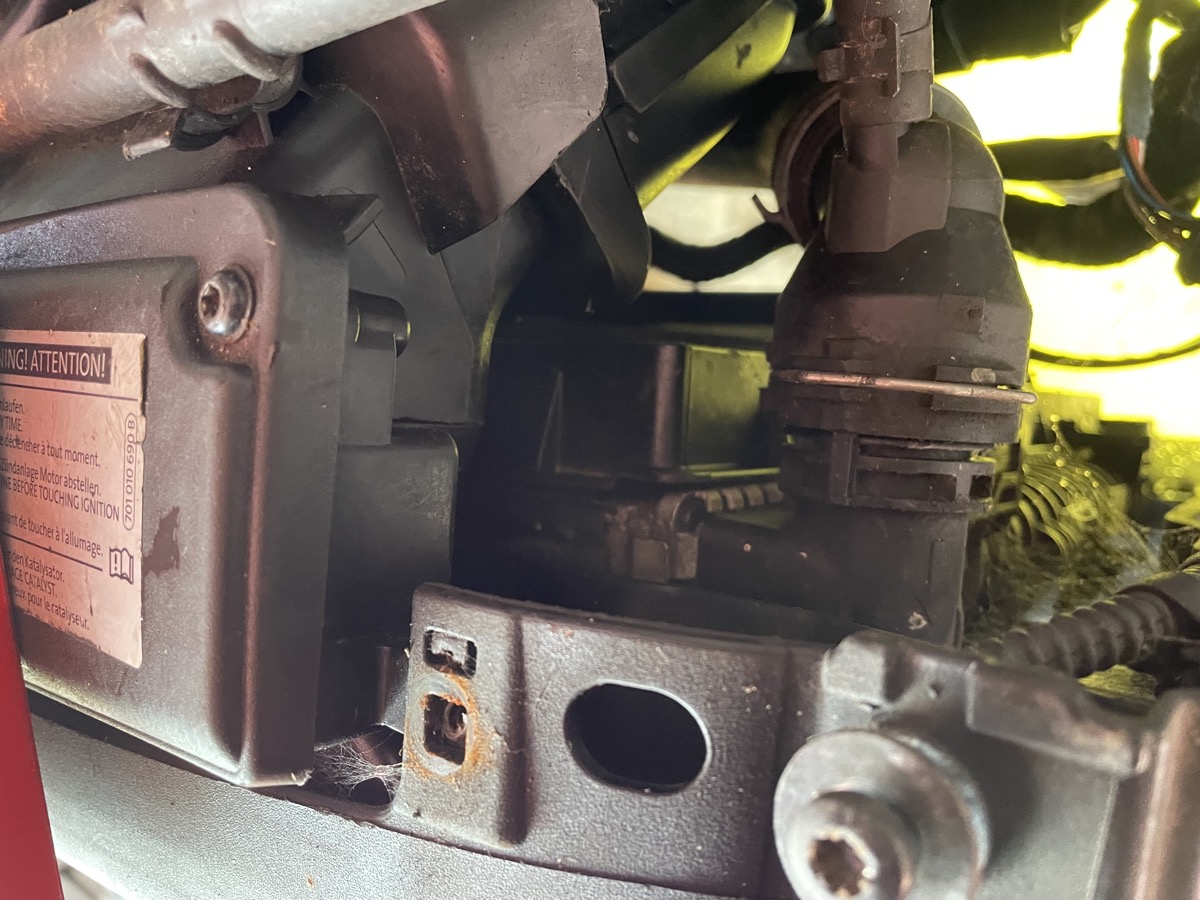
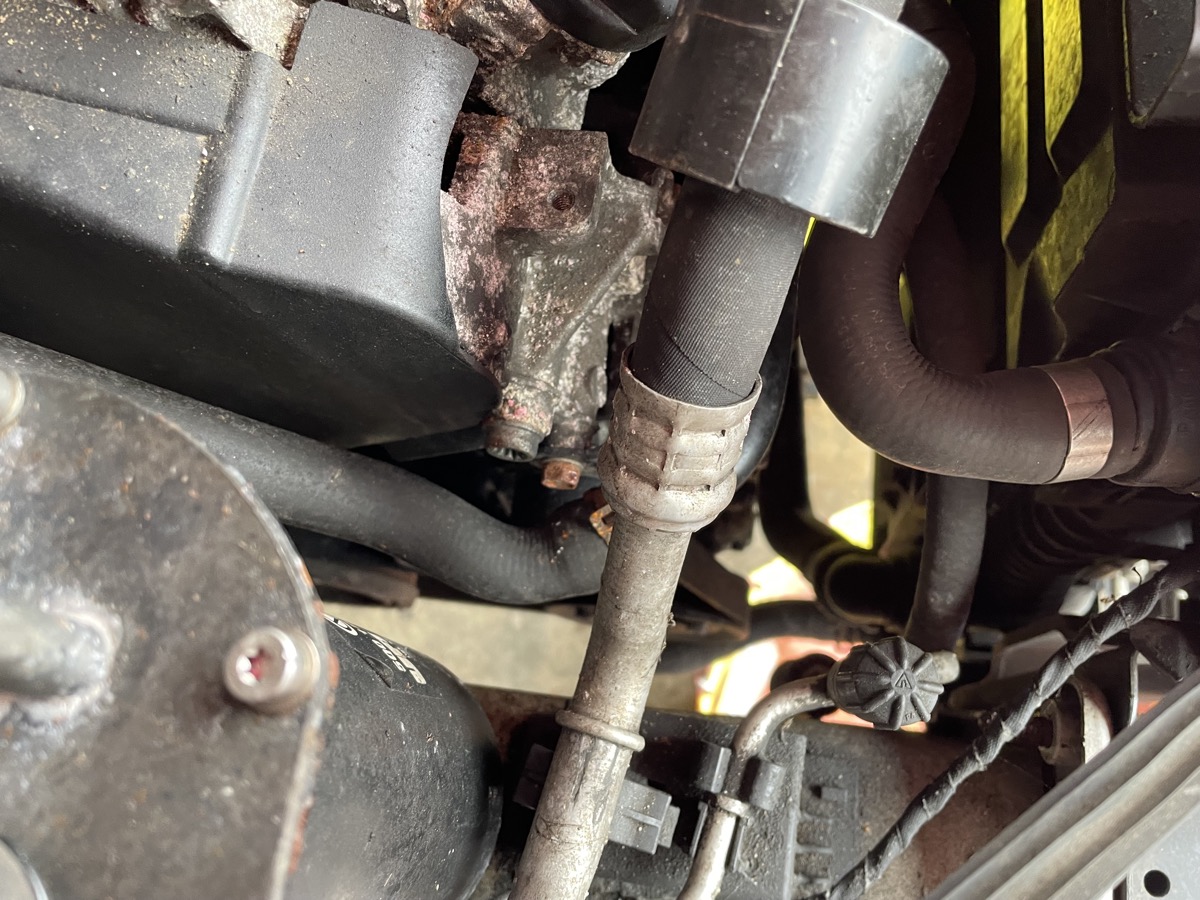
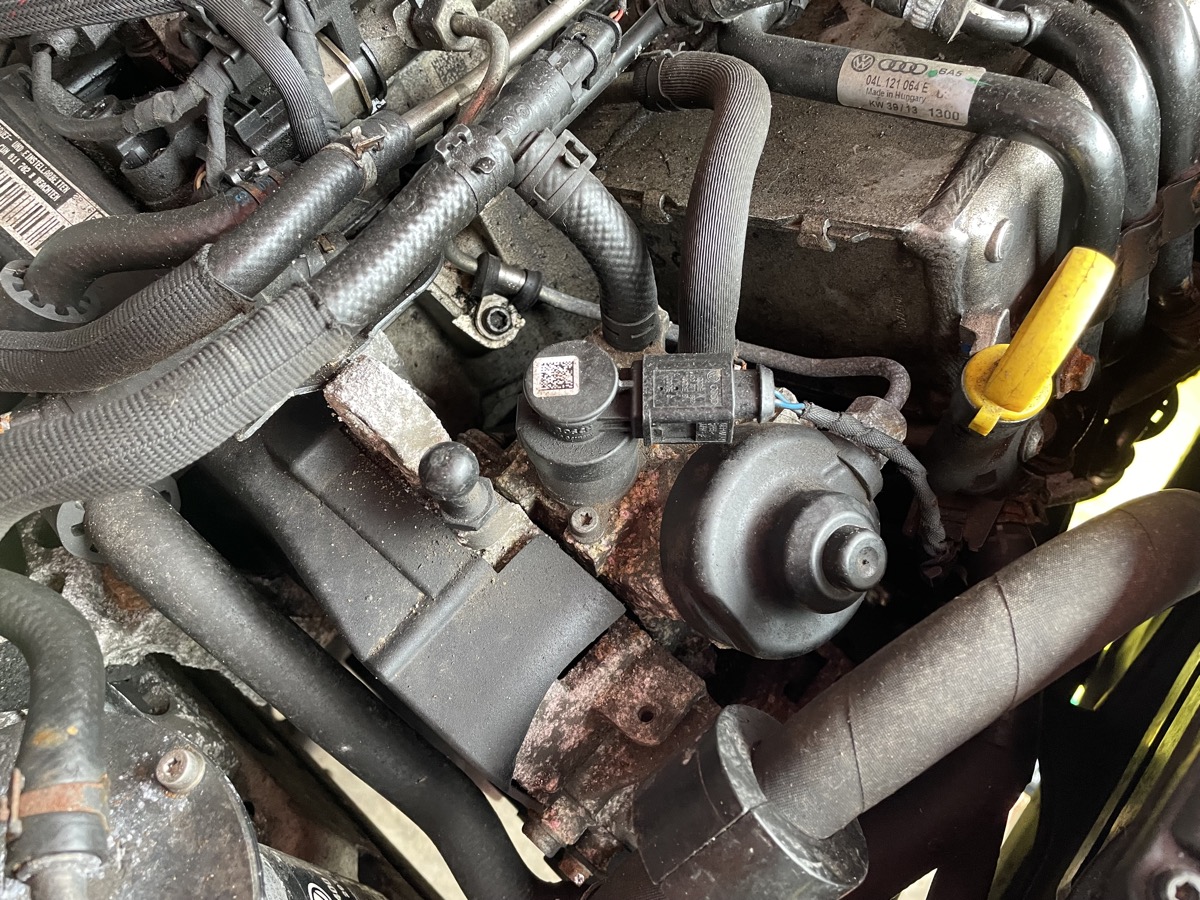
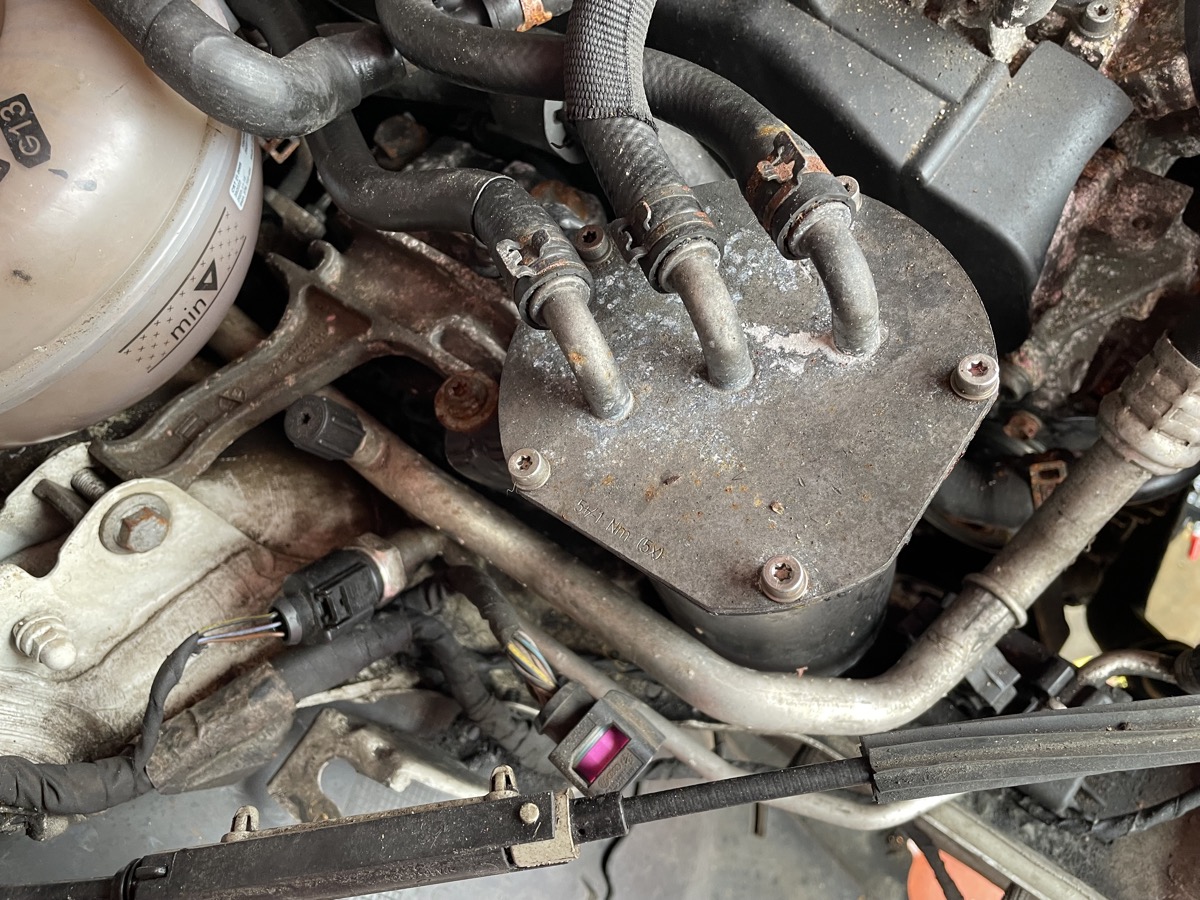
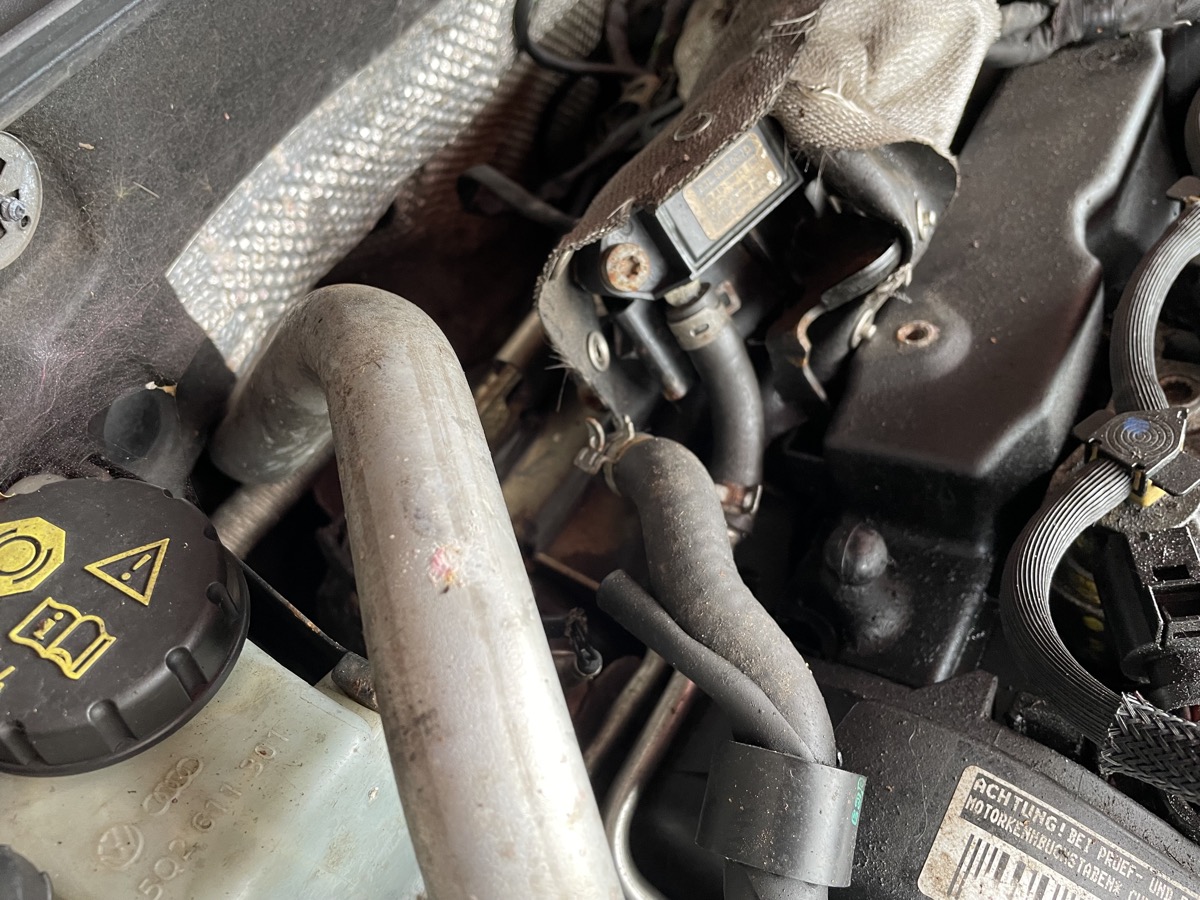

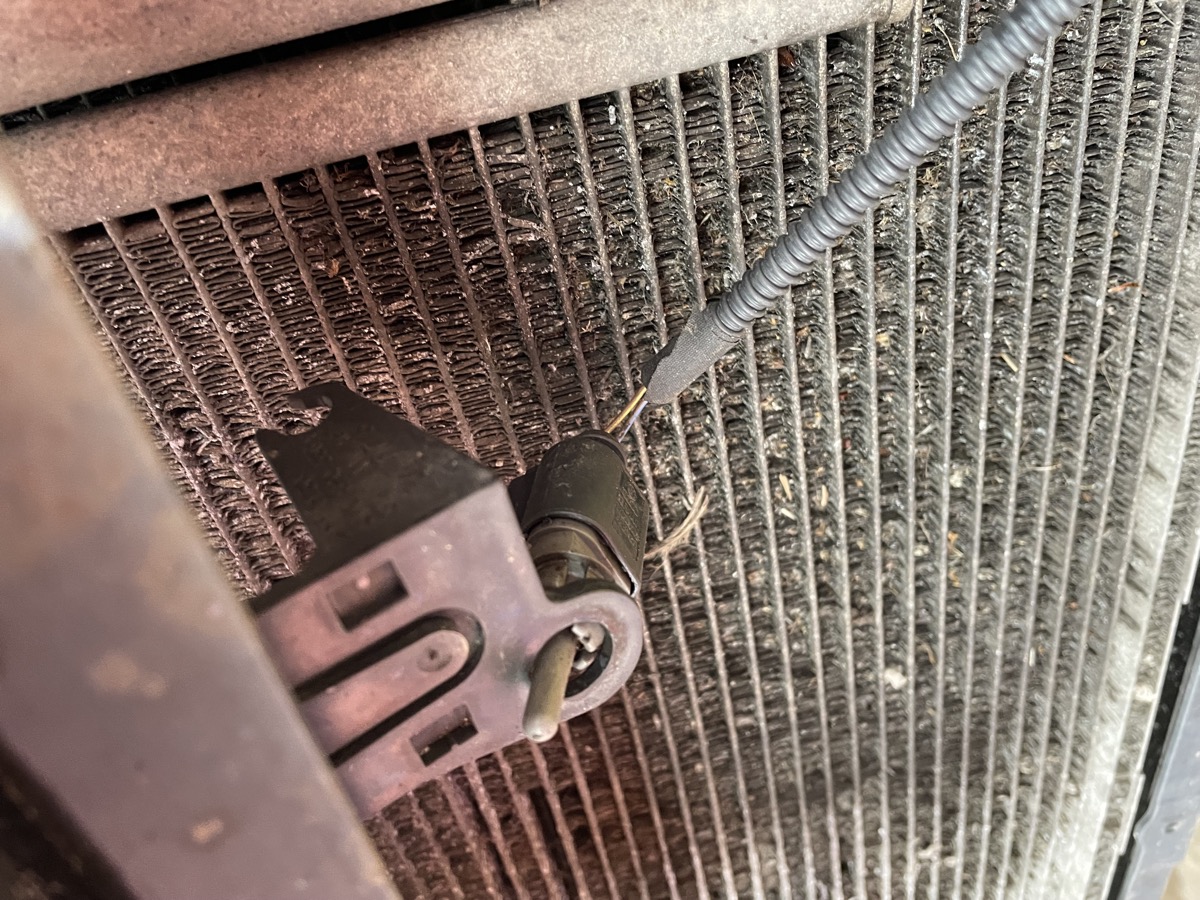
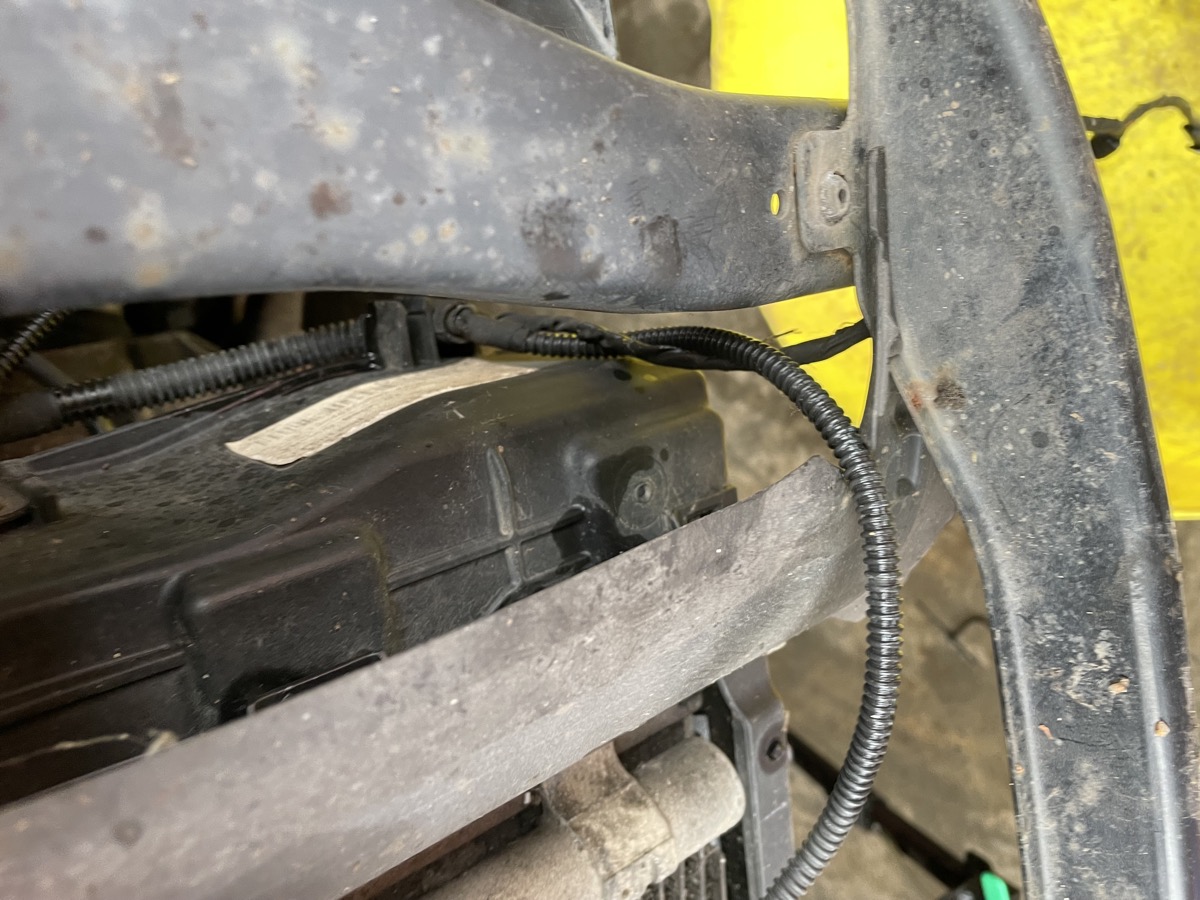
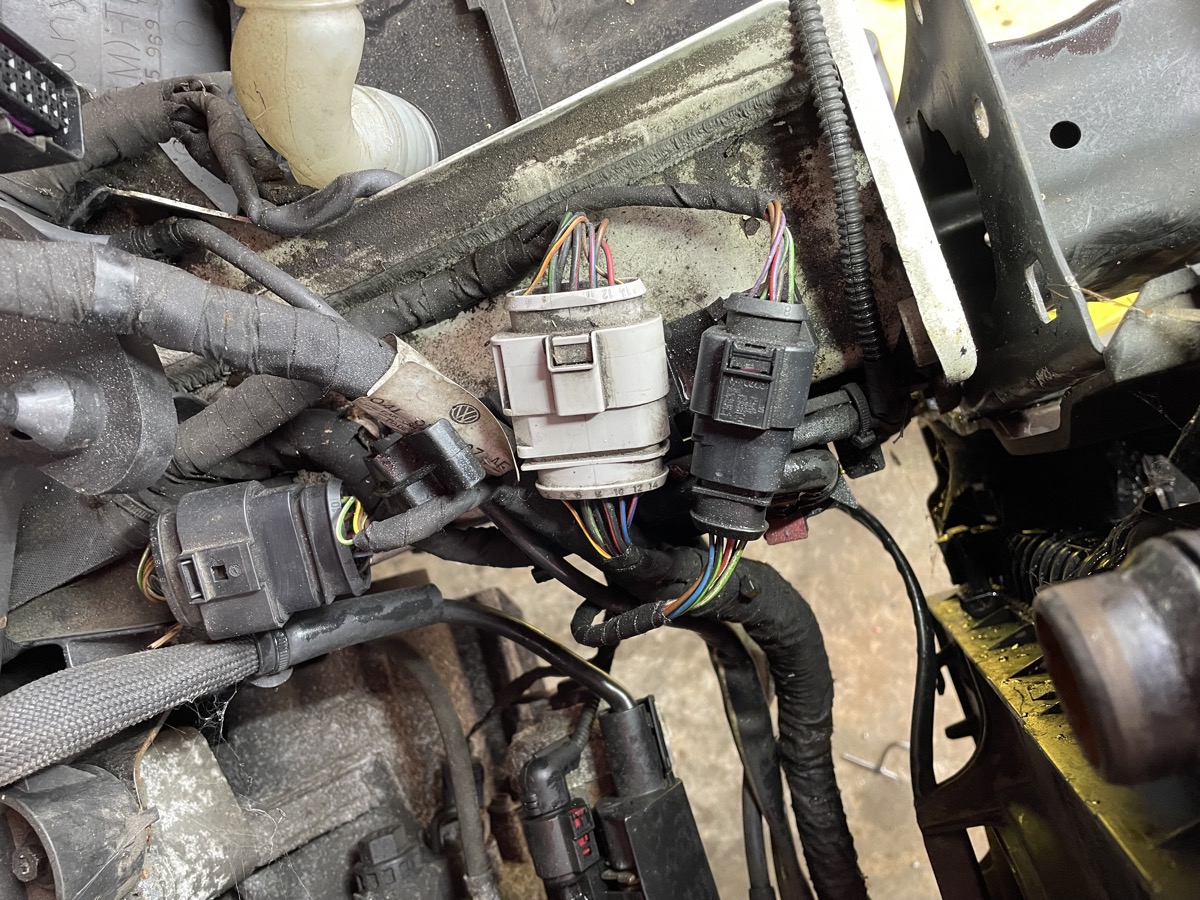
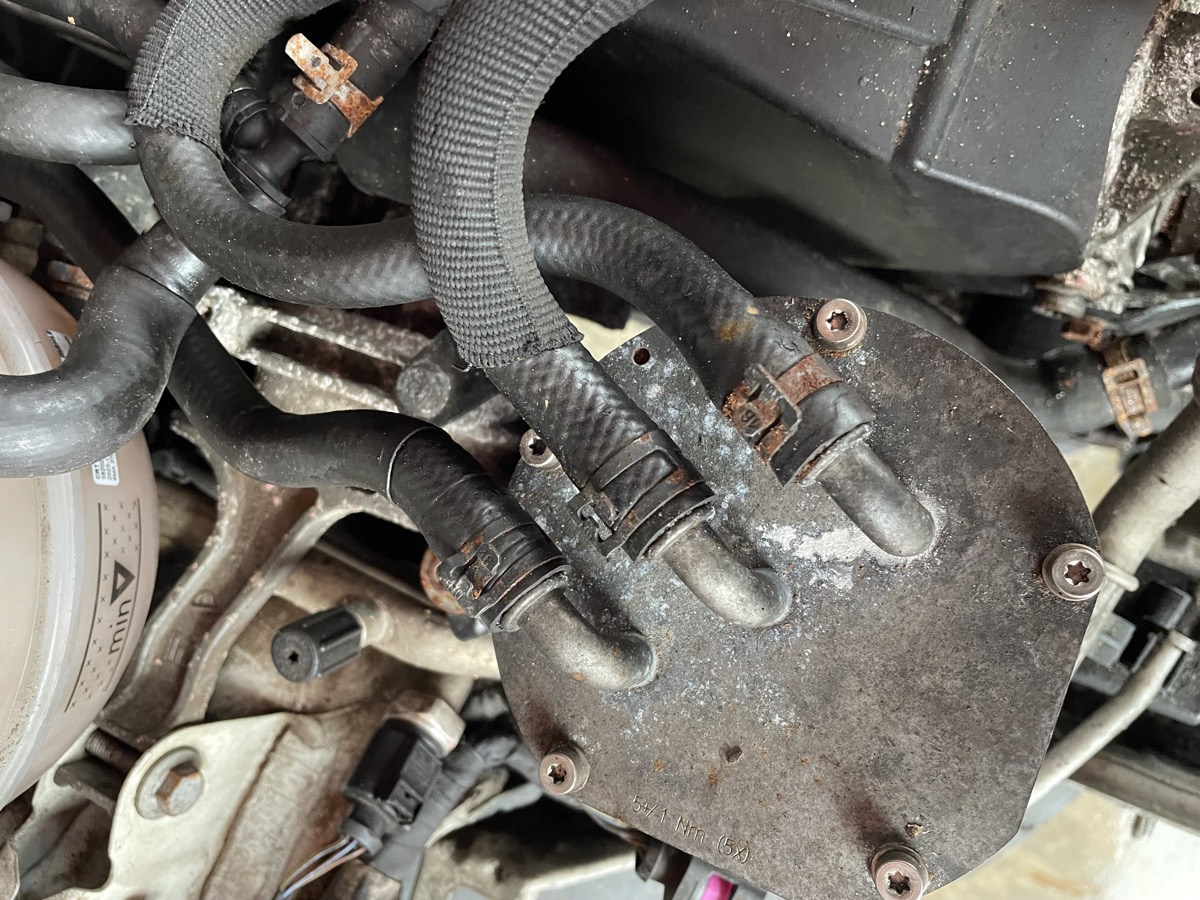
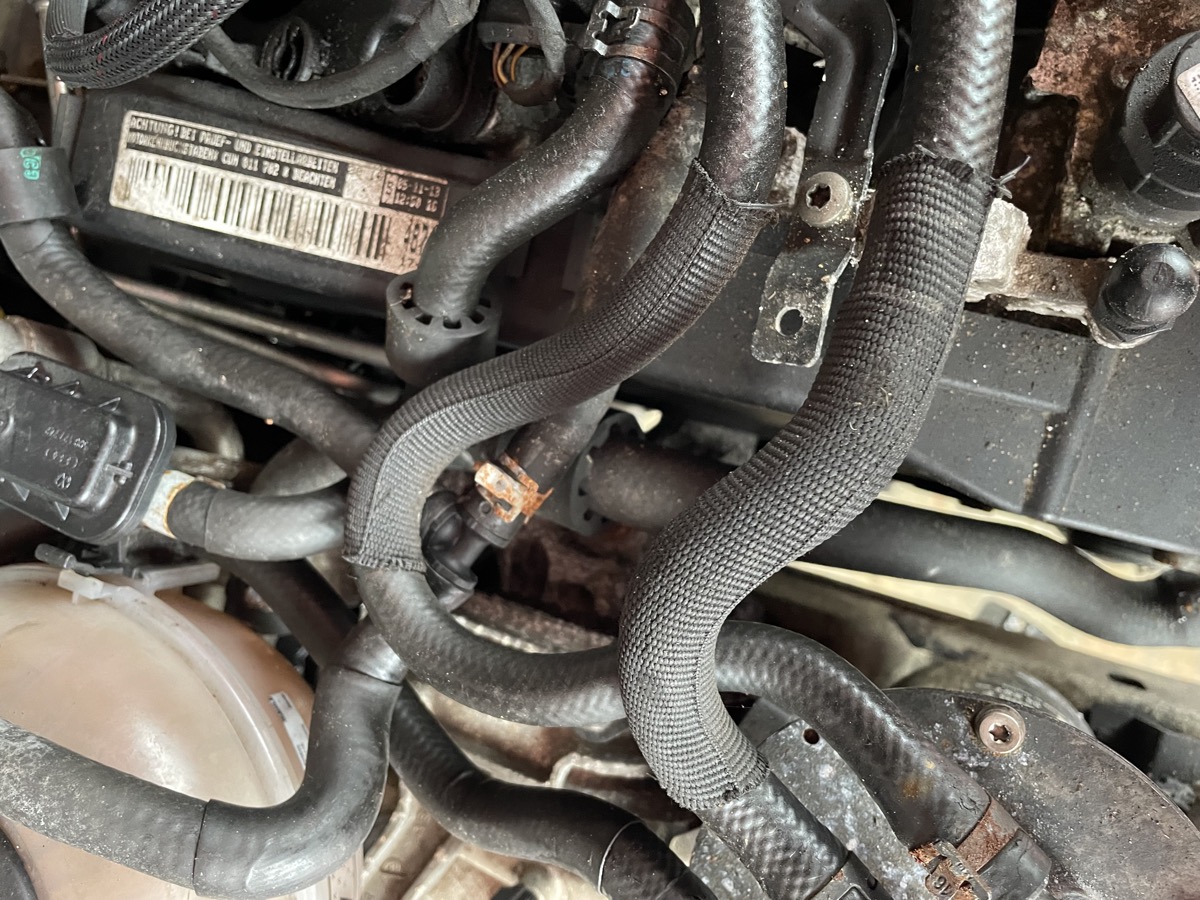
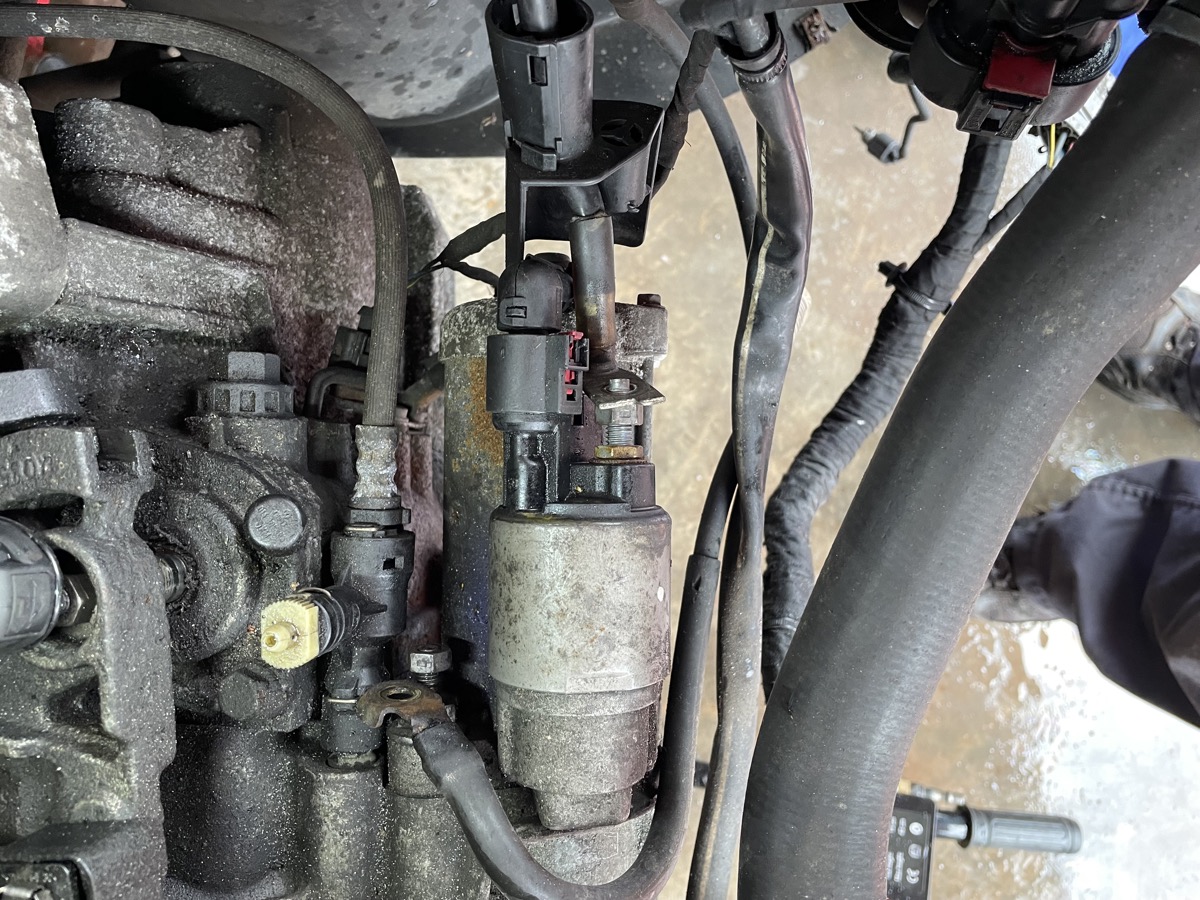
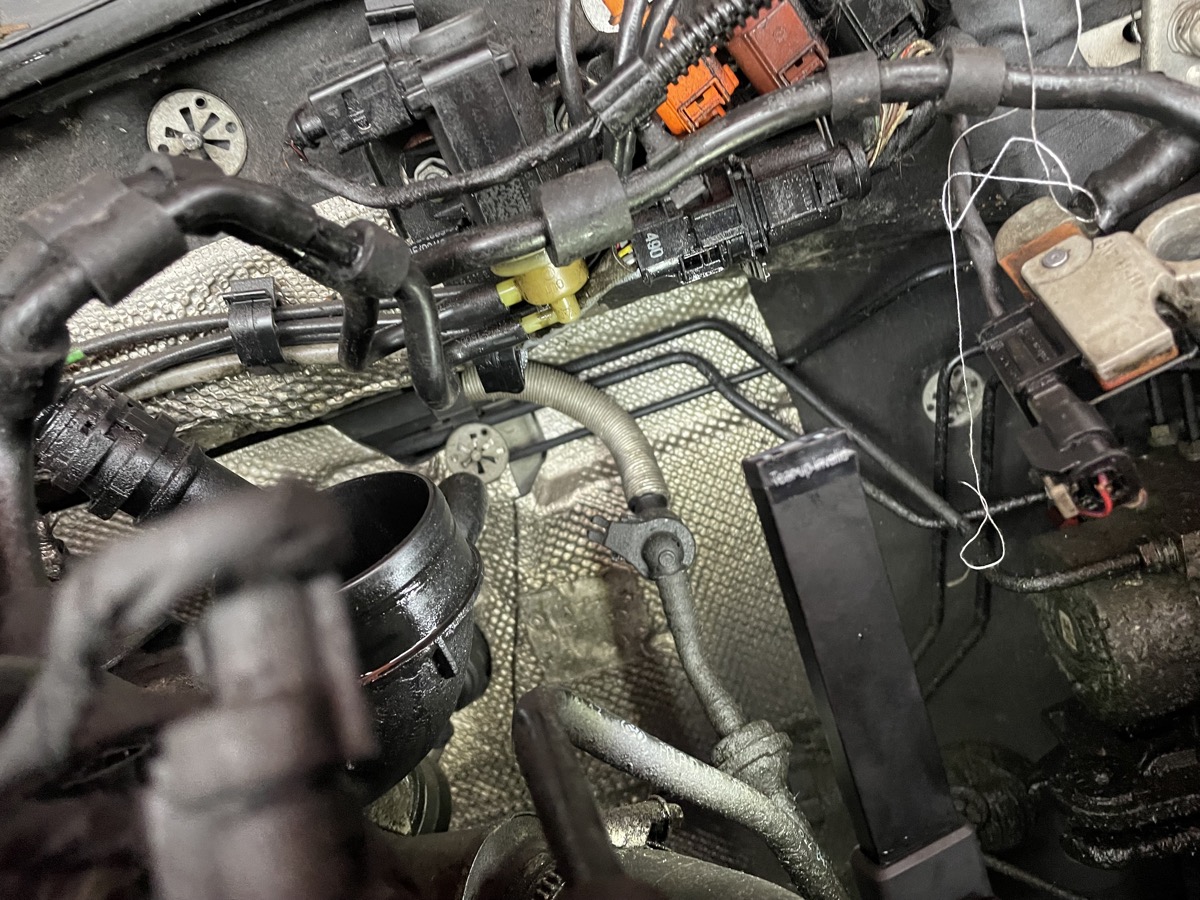

Strip-Down Progress — 21 Feb 2026 (Batch 2)
Front end removed, ancillary strip-down in progress.
Video file (2.3 MB) saved at golf-gtd-engine-rebuild/photos/IMG_0386.MOV.
Generated 21 February 2026 by Claude Code for Ade Whetton
Technical data from VW SSP documentation, EA288 workshop manual, Darkside Developments, VW Audi Forum, BRISKODA, SEATCUPRA.NET, TDI Club.
Torque specifications from Claude Chat rebuild & head removal guides, cross-referenced with VW ELSA/ERWIN data.